Assigning a static IP to your Raspberry Pi
raspberry pi static ip
By default your Raspberry Pi is assigned a random IP address by your router when it connects to the network. Periodically this address will change. That’s usually not a problem until a service relies on your Pi being at the same address for each request. In this case, you probably want to assign a static IP.
Here’s a quick and easy way of doing just that 👌🏽.
Finding your gateway
First off we need to find your Raspberry Pi’s gateway IP address. This is the node on your local network which connects your Pi to the broader internet. You can find it by running route -ne.
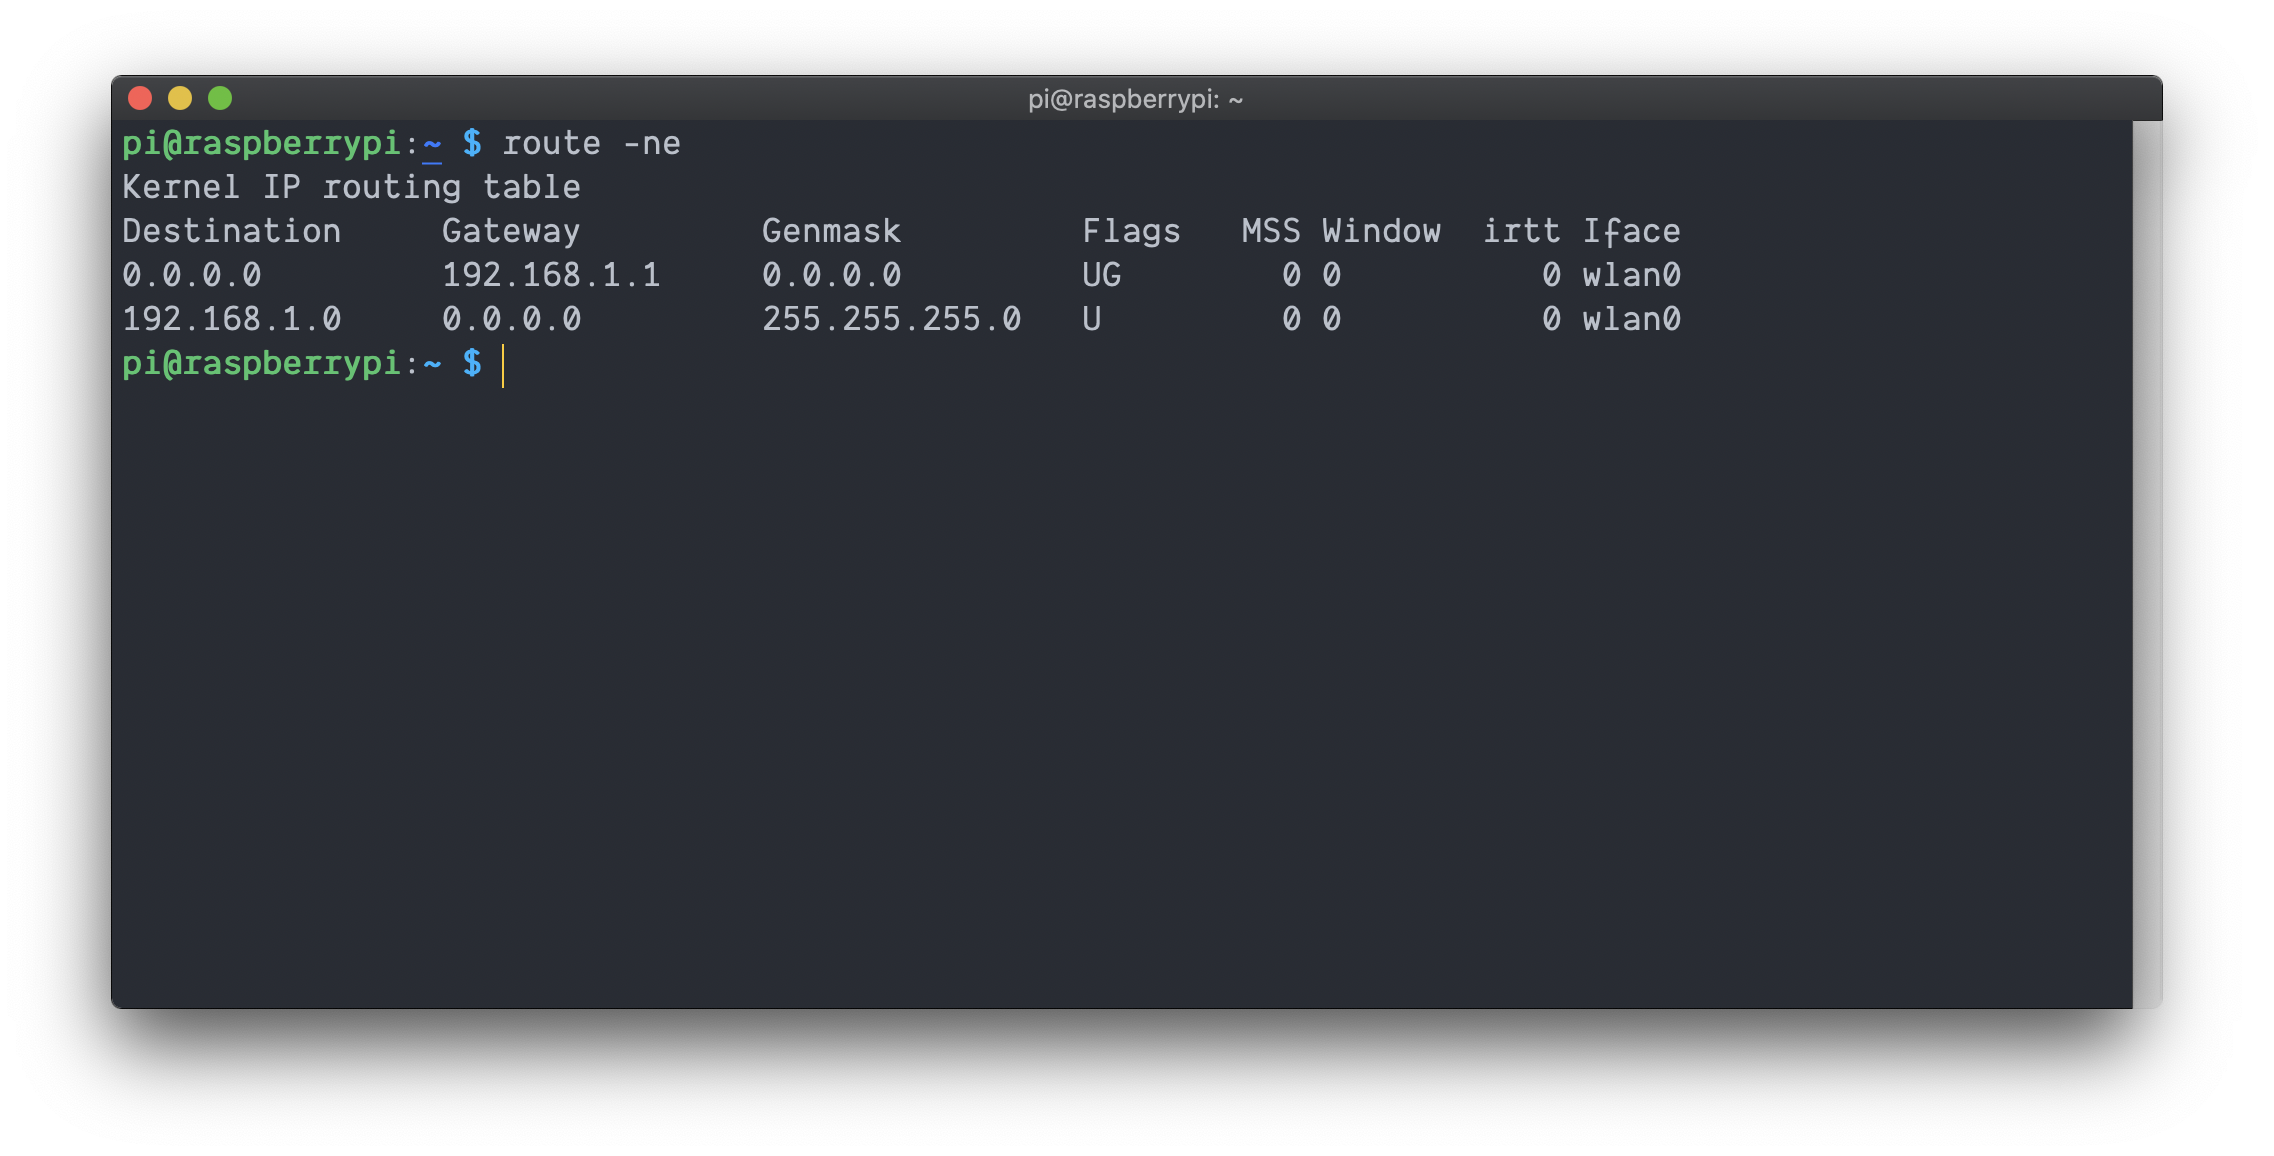
In this case you can see my gateway IP is 192.168.1.1. Take note of this address as we’ll need it later.
Configuring your static IP
Now that we know our gateway IP, it’s time to configure the static IP address.
Start by opening /etc/dhcpcd.conf (you’ll need to do so using sudo) and adding the following snippet the top of the file.
interface wlan0
static ip_address=192.168.1.150
static routers=192.168.1.1
static domain_name_servers=8.8.8.8 8.8.4.4
- Replace
ip_address=with your desired IP.- Make sure the first three octets match your existing IP’s first three octets.
- The last 3 digits should be between 1 and 254. (It helps to choose one that’s not already used.)
- Replace
routers=with your gateway IP address found above ☝🏽. - For
domain_name_servers=I’m using Google’s DNS, but feel free to adjust to your preferences.
wlan0) for a static IP address. If you’re connected via ethernet, change wlan0 to eth0. To configure both at once paste the block twice and set one interface to wlan0 and the other to eth0. Doing this ensures that if you change interfaces your static IP will persist!After adding the snippet to /etc/dhcpcd.conf, save and exit the file.
Configuring your hostname
It can be helpful to set a hostname for your Raspberry Pi so you don’t have to remember it’s IP address. This isn’t necessary, but it’s a nice touch. After configuring the hostname it’ll be easier to recognize your Pi on the network, and we’ll also add some configuration so you can access it by running something like
ssh pi@static-pi
instead of
ssh pi@192.168.1.150
There are a few ways to do this:
- Run
sudo raspi-config, choose Network Options, choose Hostname, choose OK and set your hostname, or - follow the instructions below.
Start by opening /etc/hostname (you’ll need to do so using sudo).
Replace the default string raspberrypi with your desired hostname.
Next, open /etc/hosts (you’ll need to do so using sudo) and locate the line:
127.0.1.1 raspberrypi
Replace raspberrypi with your previously chosen hostname.
/etc/hosts should now look something like this (where static-ip is my chosen hostname):

On your local machine (not the Raspberry Pi)
Create an entry in /etc/hosts like so:

Now you can SSH into your raspberry pi using ssh pi@static-pi instead of ssh pi@192.168.1.150 💪🏼.
Wrapping Up
We’ve made it to the finish line 🏁!
While connected to your Raspberry Pi, reboot it by running sudo reboot now.
Once it comes back up you should be able to connect to it through either the static IP, or through the hostname you configured above ☝🏽.
Once you’re back in the Raspberry Pi I like to do a quick check for internet connectivity. This helps me know nothing went wrong during the configuration. You can do so by running something like
echo "`curl -s -H "Accept: text/plain" https://icanhazdadjoke.com/`"
If all worked according to plan you should see a response like that below

Now your Raspberry Pi has a static IP address, and other services can count on it always being at the same location!
Thanks for reading and happy hacking 👨🏽💻.