Beetlejuice, Beetlejuice, Beetlejuice
arduino lighting ChatGPT
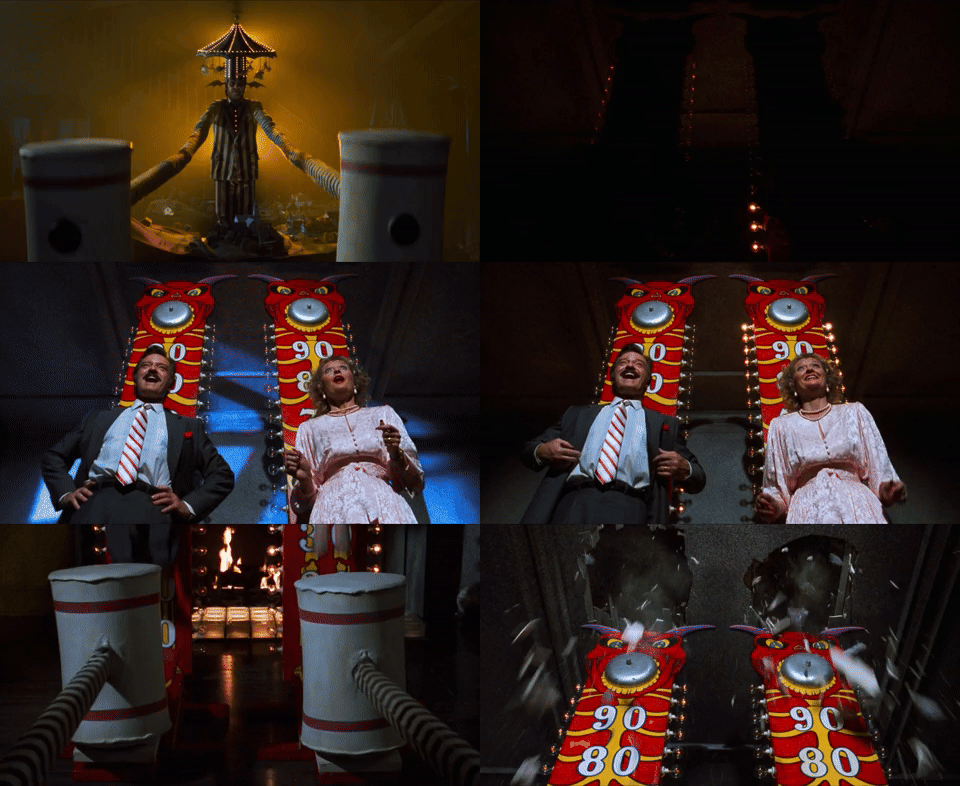
This year, I had the opportunity to help build a float for the North Adams Fall Foliage Parade. The float featured a scene from Beetlejuice, recreating the High Striker moment with Maxie and Sarah Dean fastened to the towering boards. I was in charge of animating the High Striker’s lighting, synchronizing it with Beetlejuice’s arm movements and helping with the overall construction.
Designing The Float
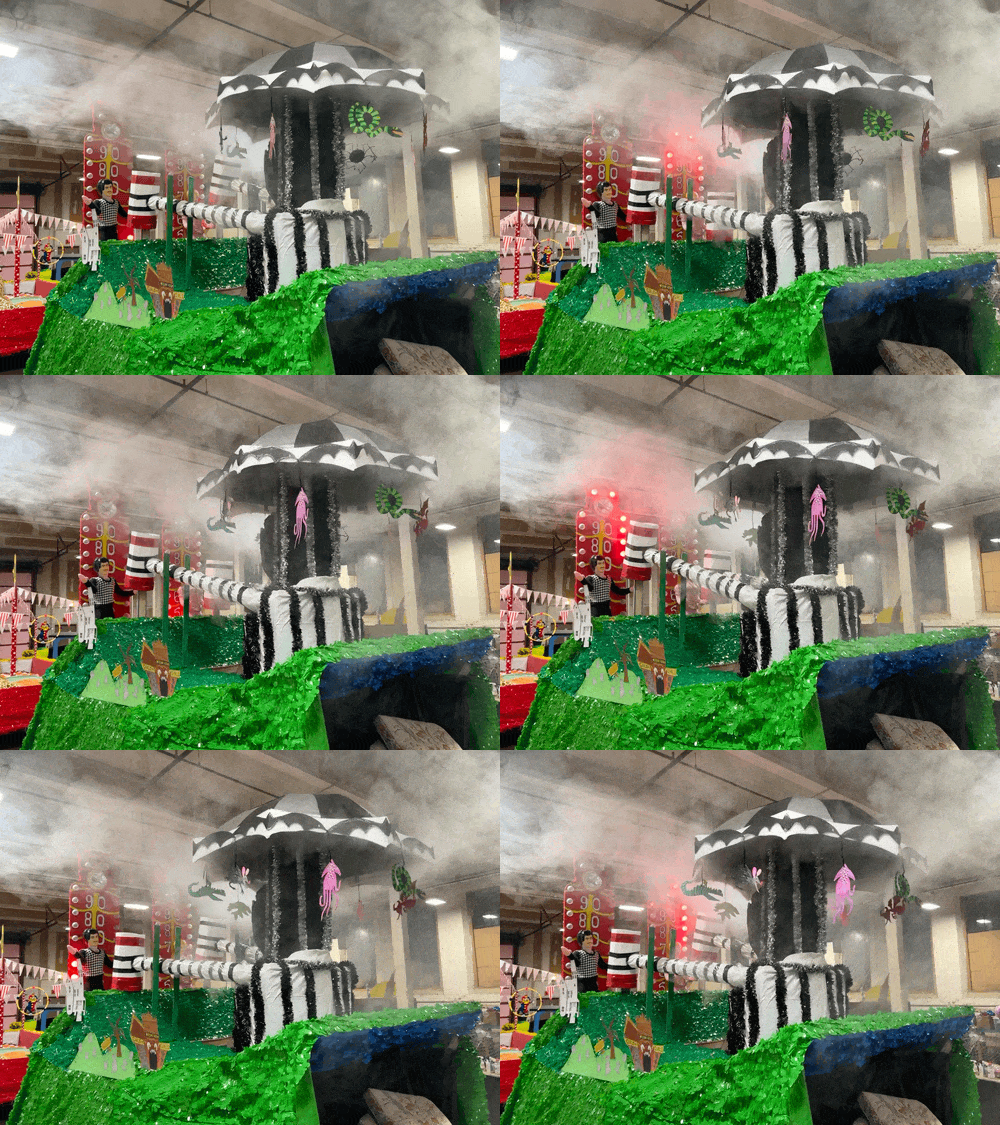
In the movie, Beetlejuice hits the high strikers with hammers attached to the ends of his arms. For our float, the arms of Beetlejuice would be driven by two separate cams attached to a driveshaft. The driveshaft would be driven by an electric motor powered by a generator. The cams each drove a shaft which raised, and eventually dropped the arms back down. On the driveshaft were mounted two micro switches corresponding to each arm which were used as inputs to start lighting routines on each respective high striker board.
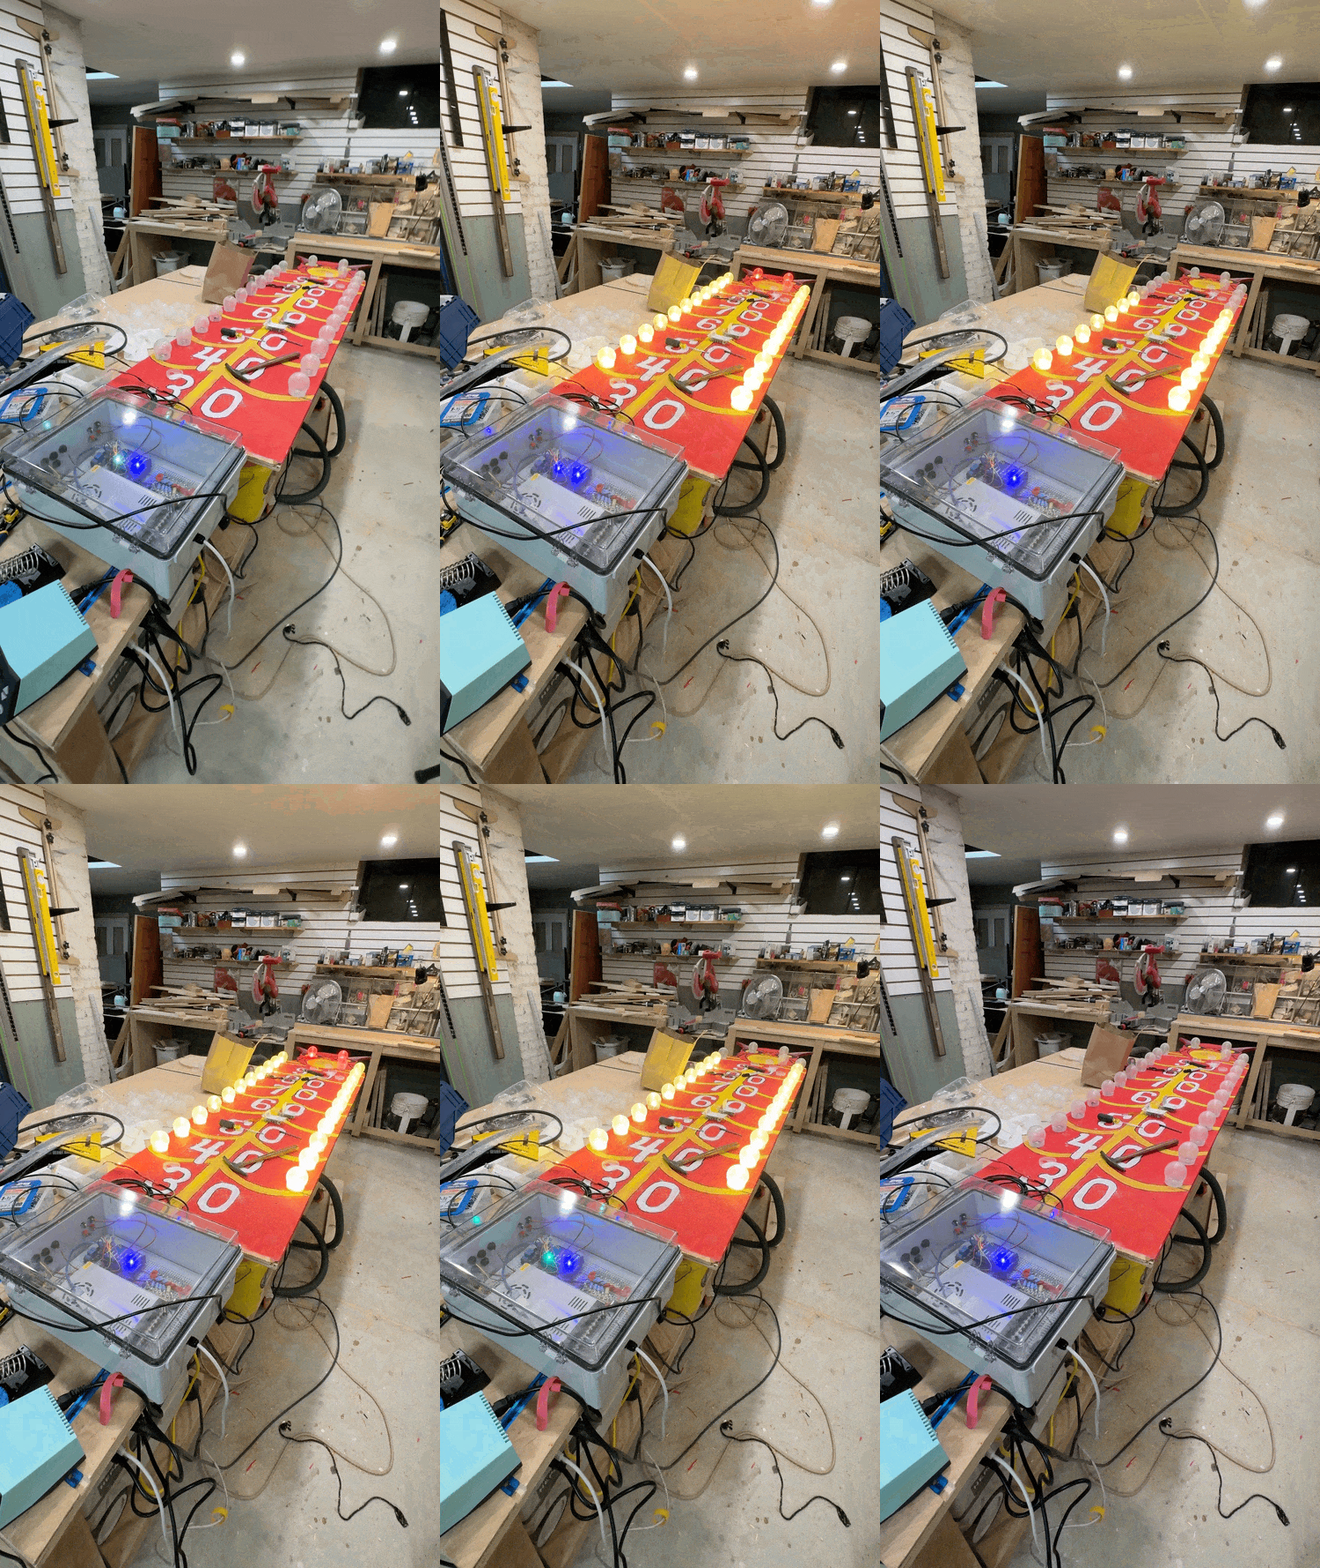
Each high striker board had wired to it one strand of 24 4W RGBW LEDs, wired in series, for 48 total addressable LEDs. The middle two LEDs in each strand (11 & 12) functioned as the eyes, with the other pairs as “levels” going up the board. The LEDs were controlled via the Arduino using the Neopixel library (source). The strands of LEDs were powerful enough to warrant their own 5v DC 60A power supply, also powered by the gas generator powering the motor. The power supply would also power the Arduino.
The buzzer was programmed to ring when the eyes of each striker lit up, as they would at the carnival!
Prototyping
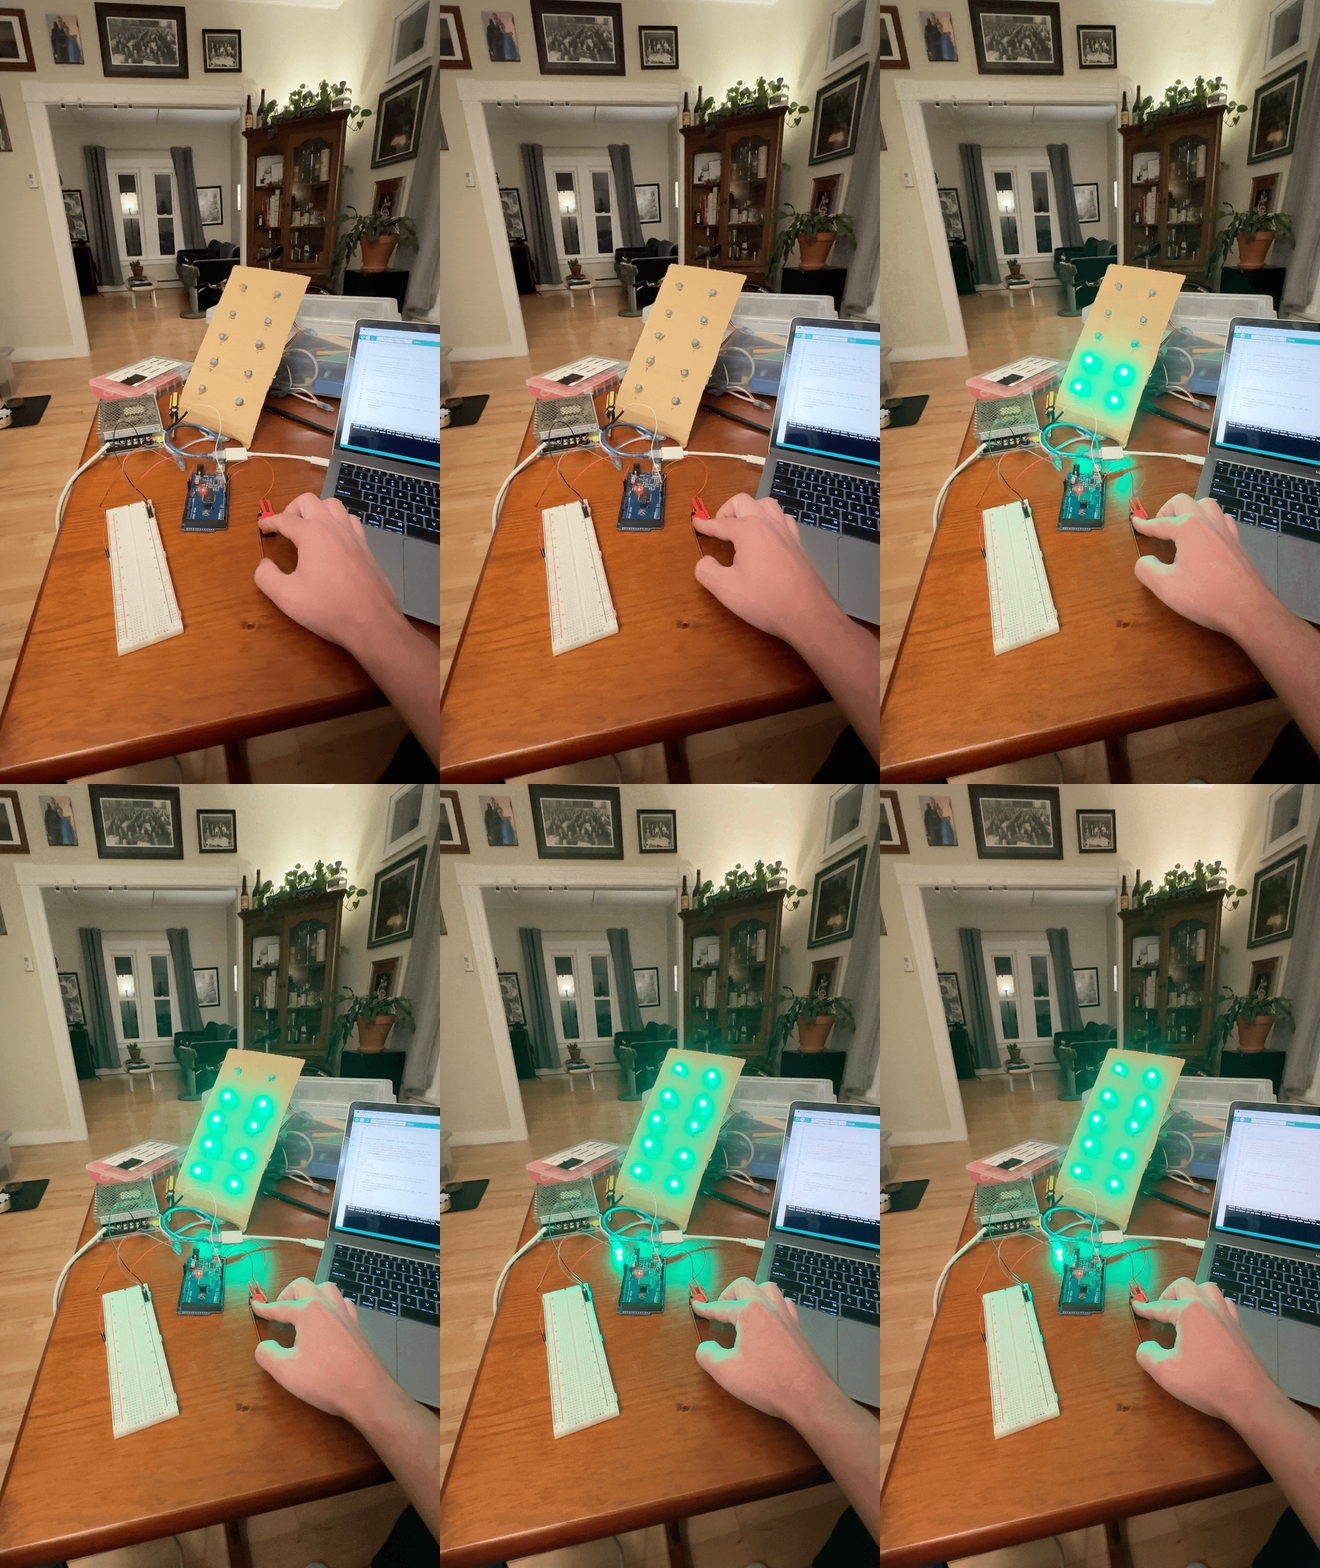
To start, I created a basic prototype with LEDs scavenged from my 2022 LumiNAMA Christmas display. The small, lower power LEDs were easy to work with, but I knew wouldn’t be bright enough to see on a sunny day. To have a chance at seeing the lighting effects during the day, I ordered 48 Ultra Bright 4 Watt Chainable RGBW NeoPixel LEDs from Adafruit.
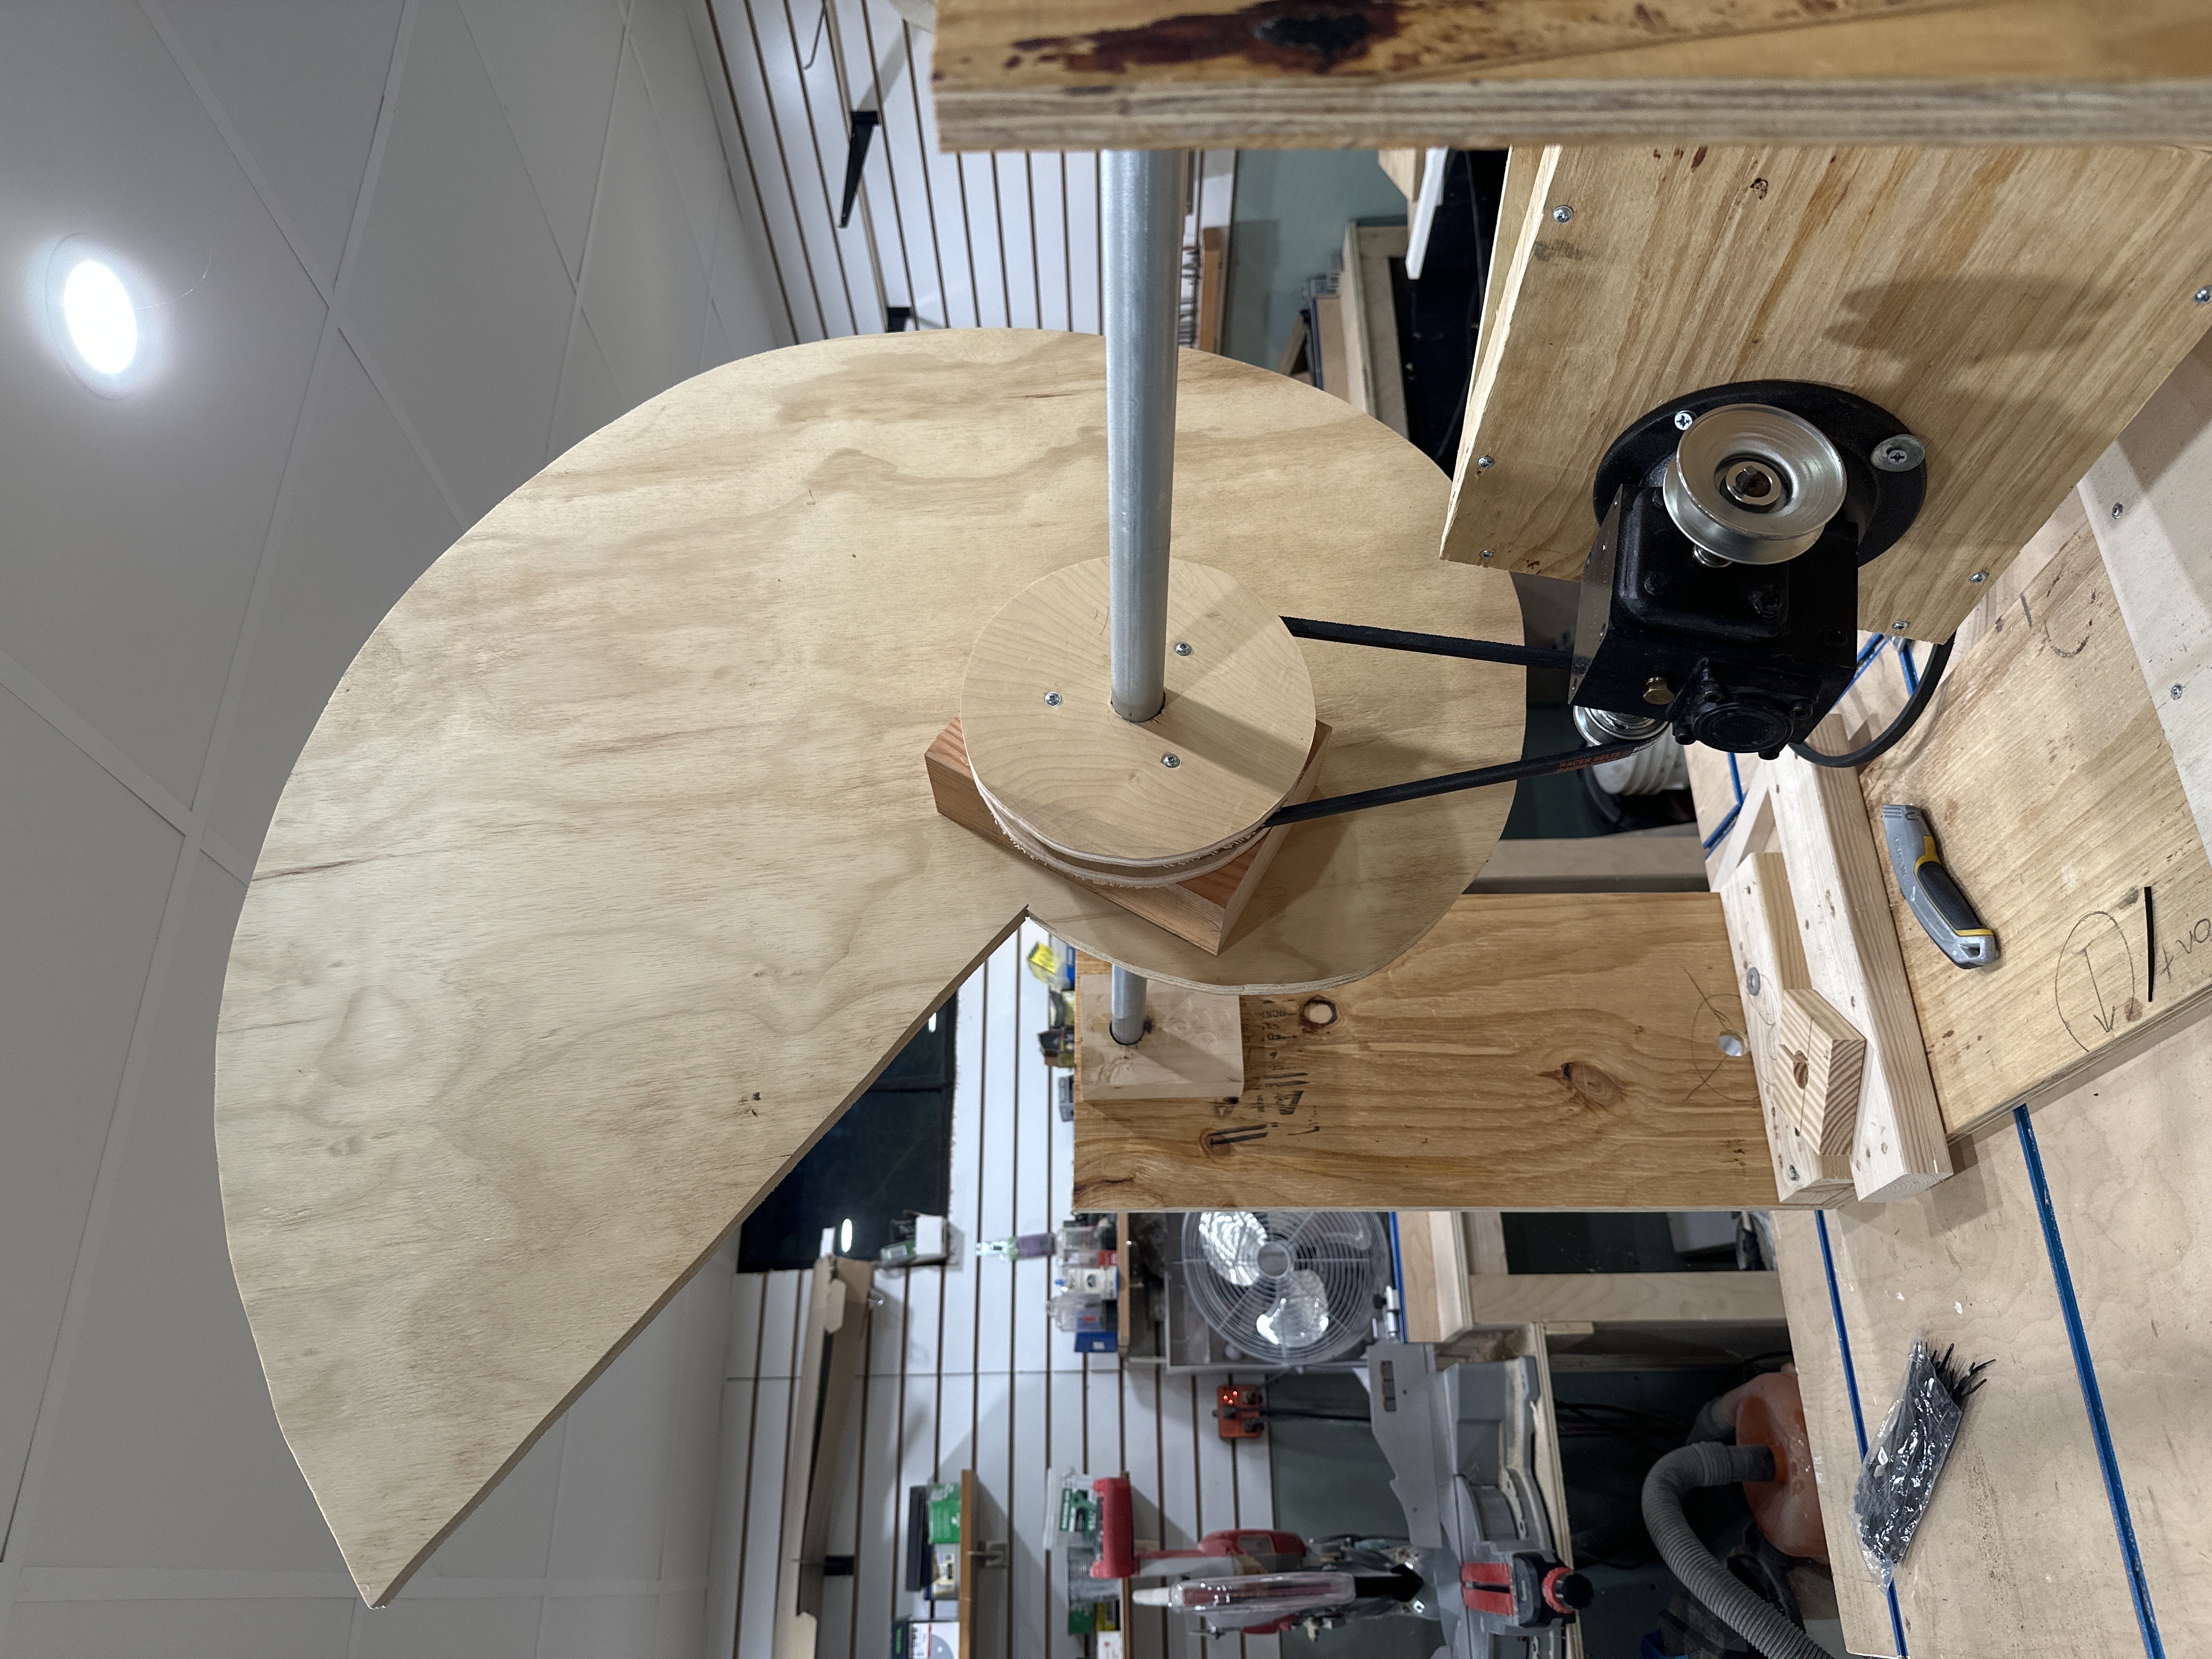
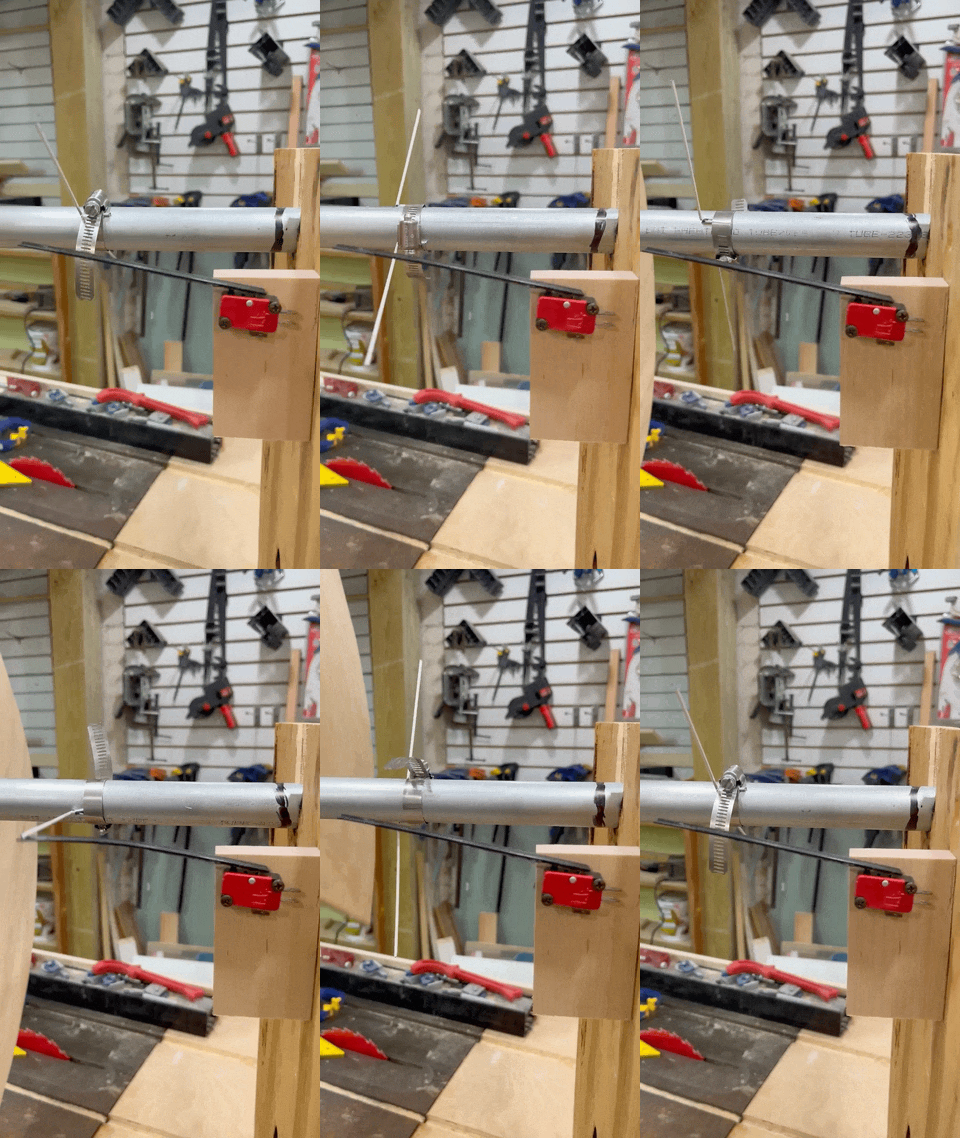
To synchronize the falling of each hammer with the lighting of a board I used two separate micro switches, each triggered by a coat hanger, attached to the driveshaft. The micro switches themselves were extended with two part epoxy and a large zip tie. This gave us room to work and avoided breaking the switch with the force of the turning coat hanger. Timing was adjusted by loosening the pipe clamp and moving the coat hanger.
Construction
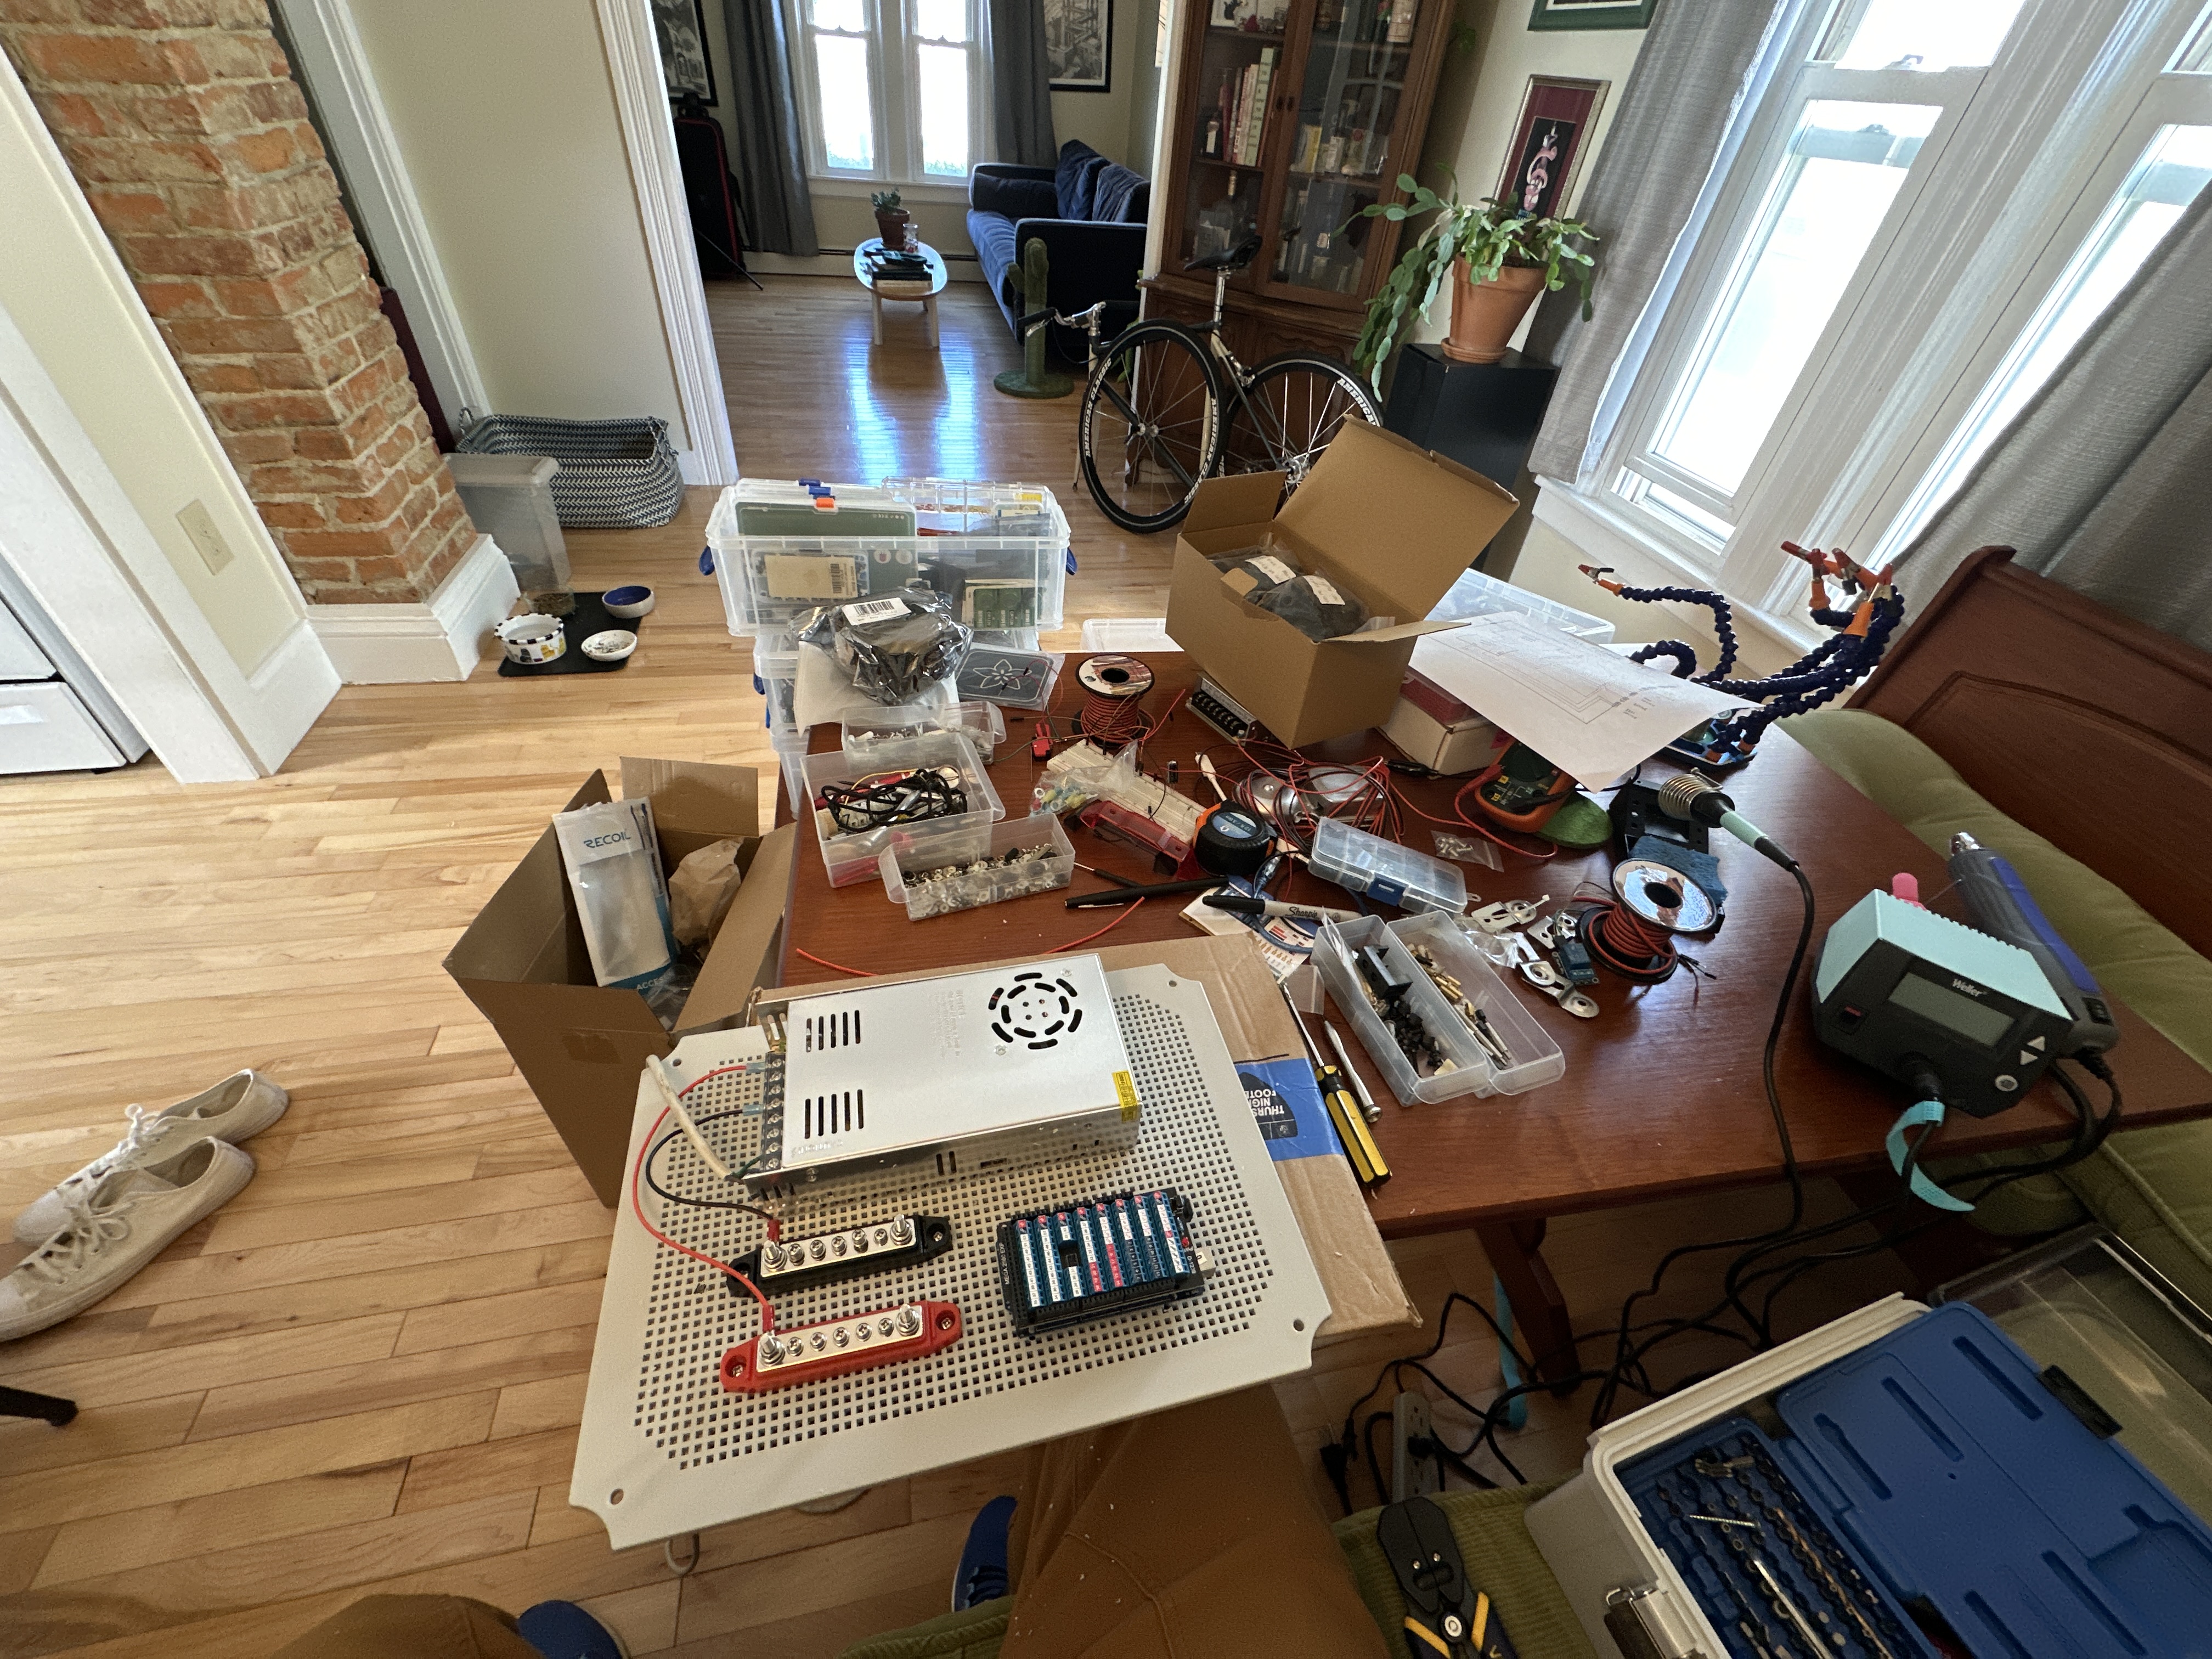
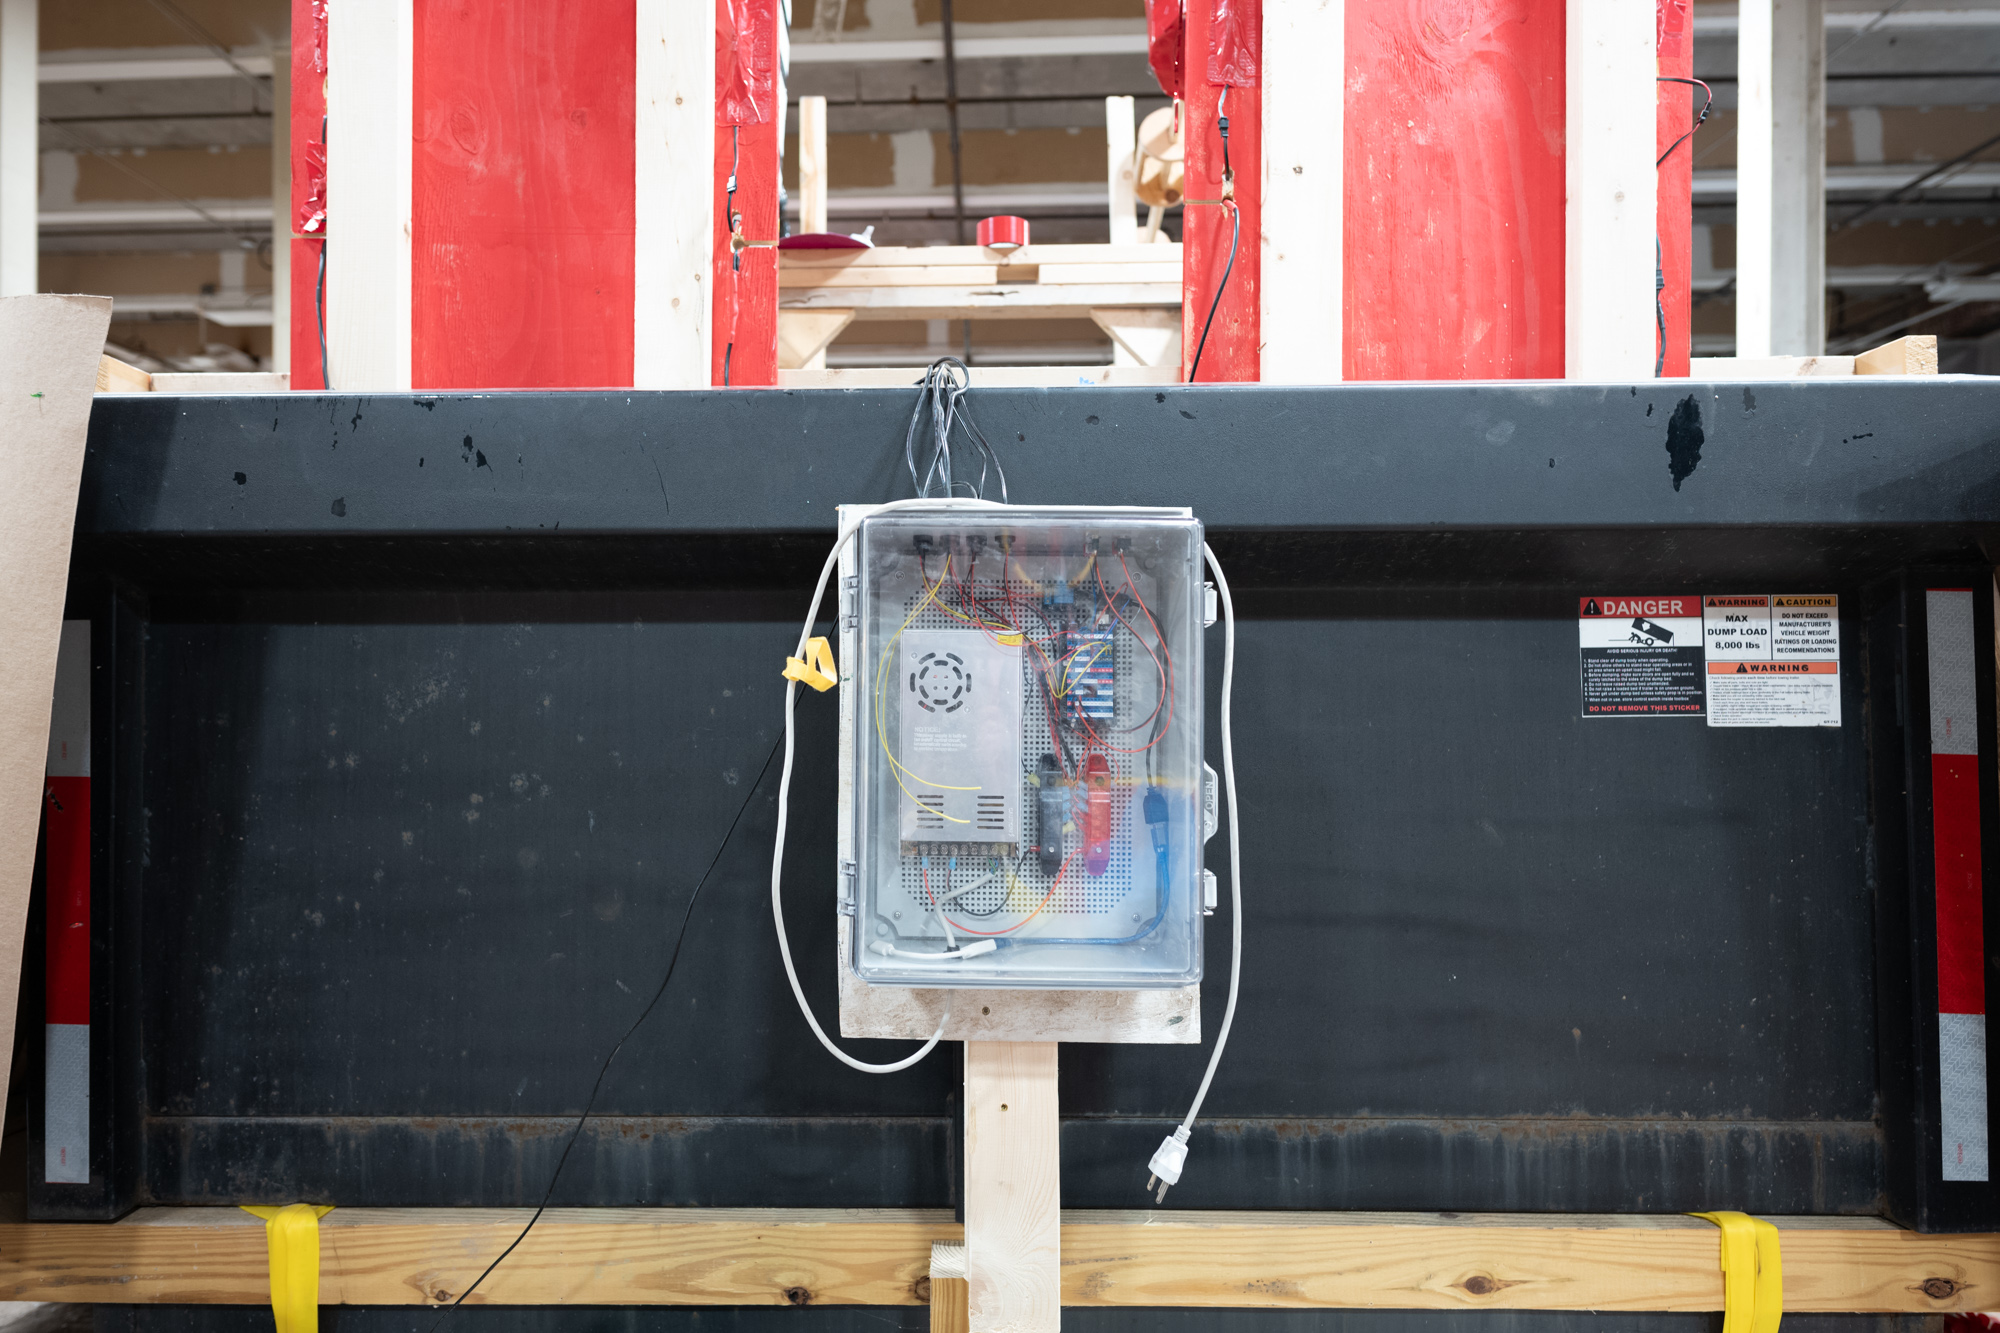
While other parts of the float were being built I started wiring and coding the lights at home. Despite the scale of the project, overall it was relatively simple and a variation on past projects. The floats are built in a damp and dirty warehouse, and I knew it likely to sustain a bit of a beating during construction, so I mounted the project inside a water and dustproof box to keep it safe.
I added a few switches and buttons to the box after we discovered that Beetlejuice’s arm movement could be inconsistent. Occasionally, the cam and shaft system controlling the arm movement would bind, causing the lighting to freeze. We realized, because of this fact, our switch design presented a potential failure point (no movement, no lights). To avoid this risk, I programmed one switch to disconnect the lighting logic from the arm movement, setting it to run to a generic pattern instead.
The Arduino Sketch
Though I wrote the bones of the Arduino sketch, I relied heavily on ChatGPT to create new, more visually interesting and complex, lighting routines.
"Just to remind you the layout of these two strips, I have 24 LEDs running up and down a piece of plywood that is skinny and tall. The leds are run along the edges such that LED 0 and led 23 are opposite each other, leds 1 and 22 are opposite each other, etc.I want to create an animation that does the following
- the leds go up board one level at a time, for example, led 0 and led 23 light up, then led 1 and 22 light up
- only one level of LEDs are lit at a time, so when led 1 and 22 light up, all other leds are off.
- the leds progress up to the top of the board until they reach the middle two leds.
- while the leds are progressing up the board they are white, the last level is red.”
You can see and download the original sketch here. I was blown away by ChatGPT’s ability to understand the physical layout of the LEDs and to convert my garbled requests into working code. 90% of the functions written by ChatGPT worked on the first try. If it didn’t, ChatGPT could easily work out the solution. Though I have a decades worth of experience working with Arduino sketches it was amazing (and humbling) to be able to quickly generate error free code like this.
The lights had two modes. When in the switch controlled mode, the lights cycled through a hammer-driven sequence (start when hammer falls, wait for next hammer fall), then ran into a set of fun animations, then back to hammer-driven sequence. In the other mode, the lights simply ran through the fun animations irrespective of the hammer movement.
A Team Effort
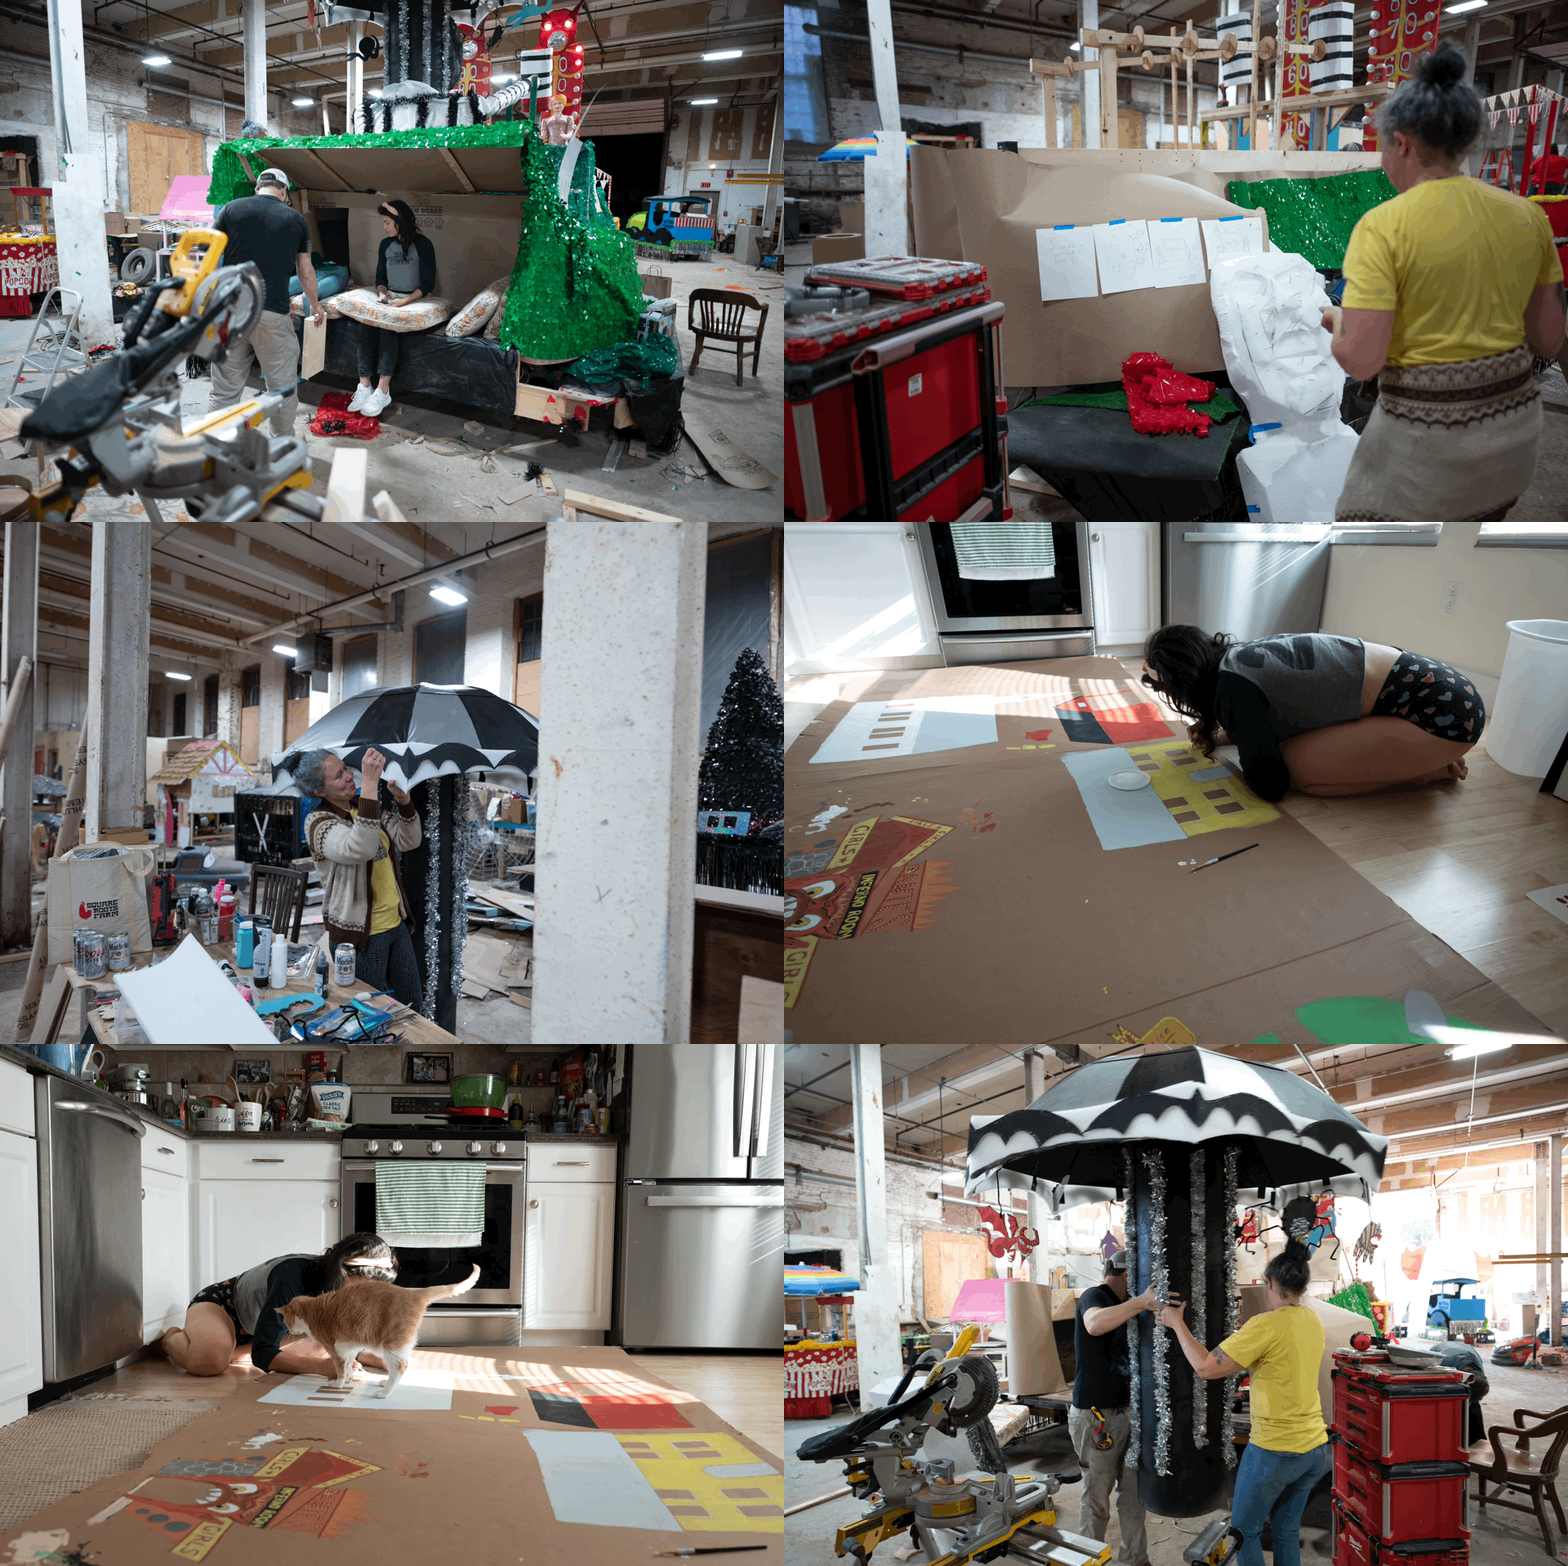

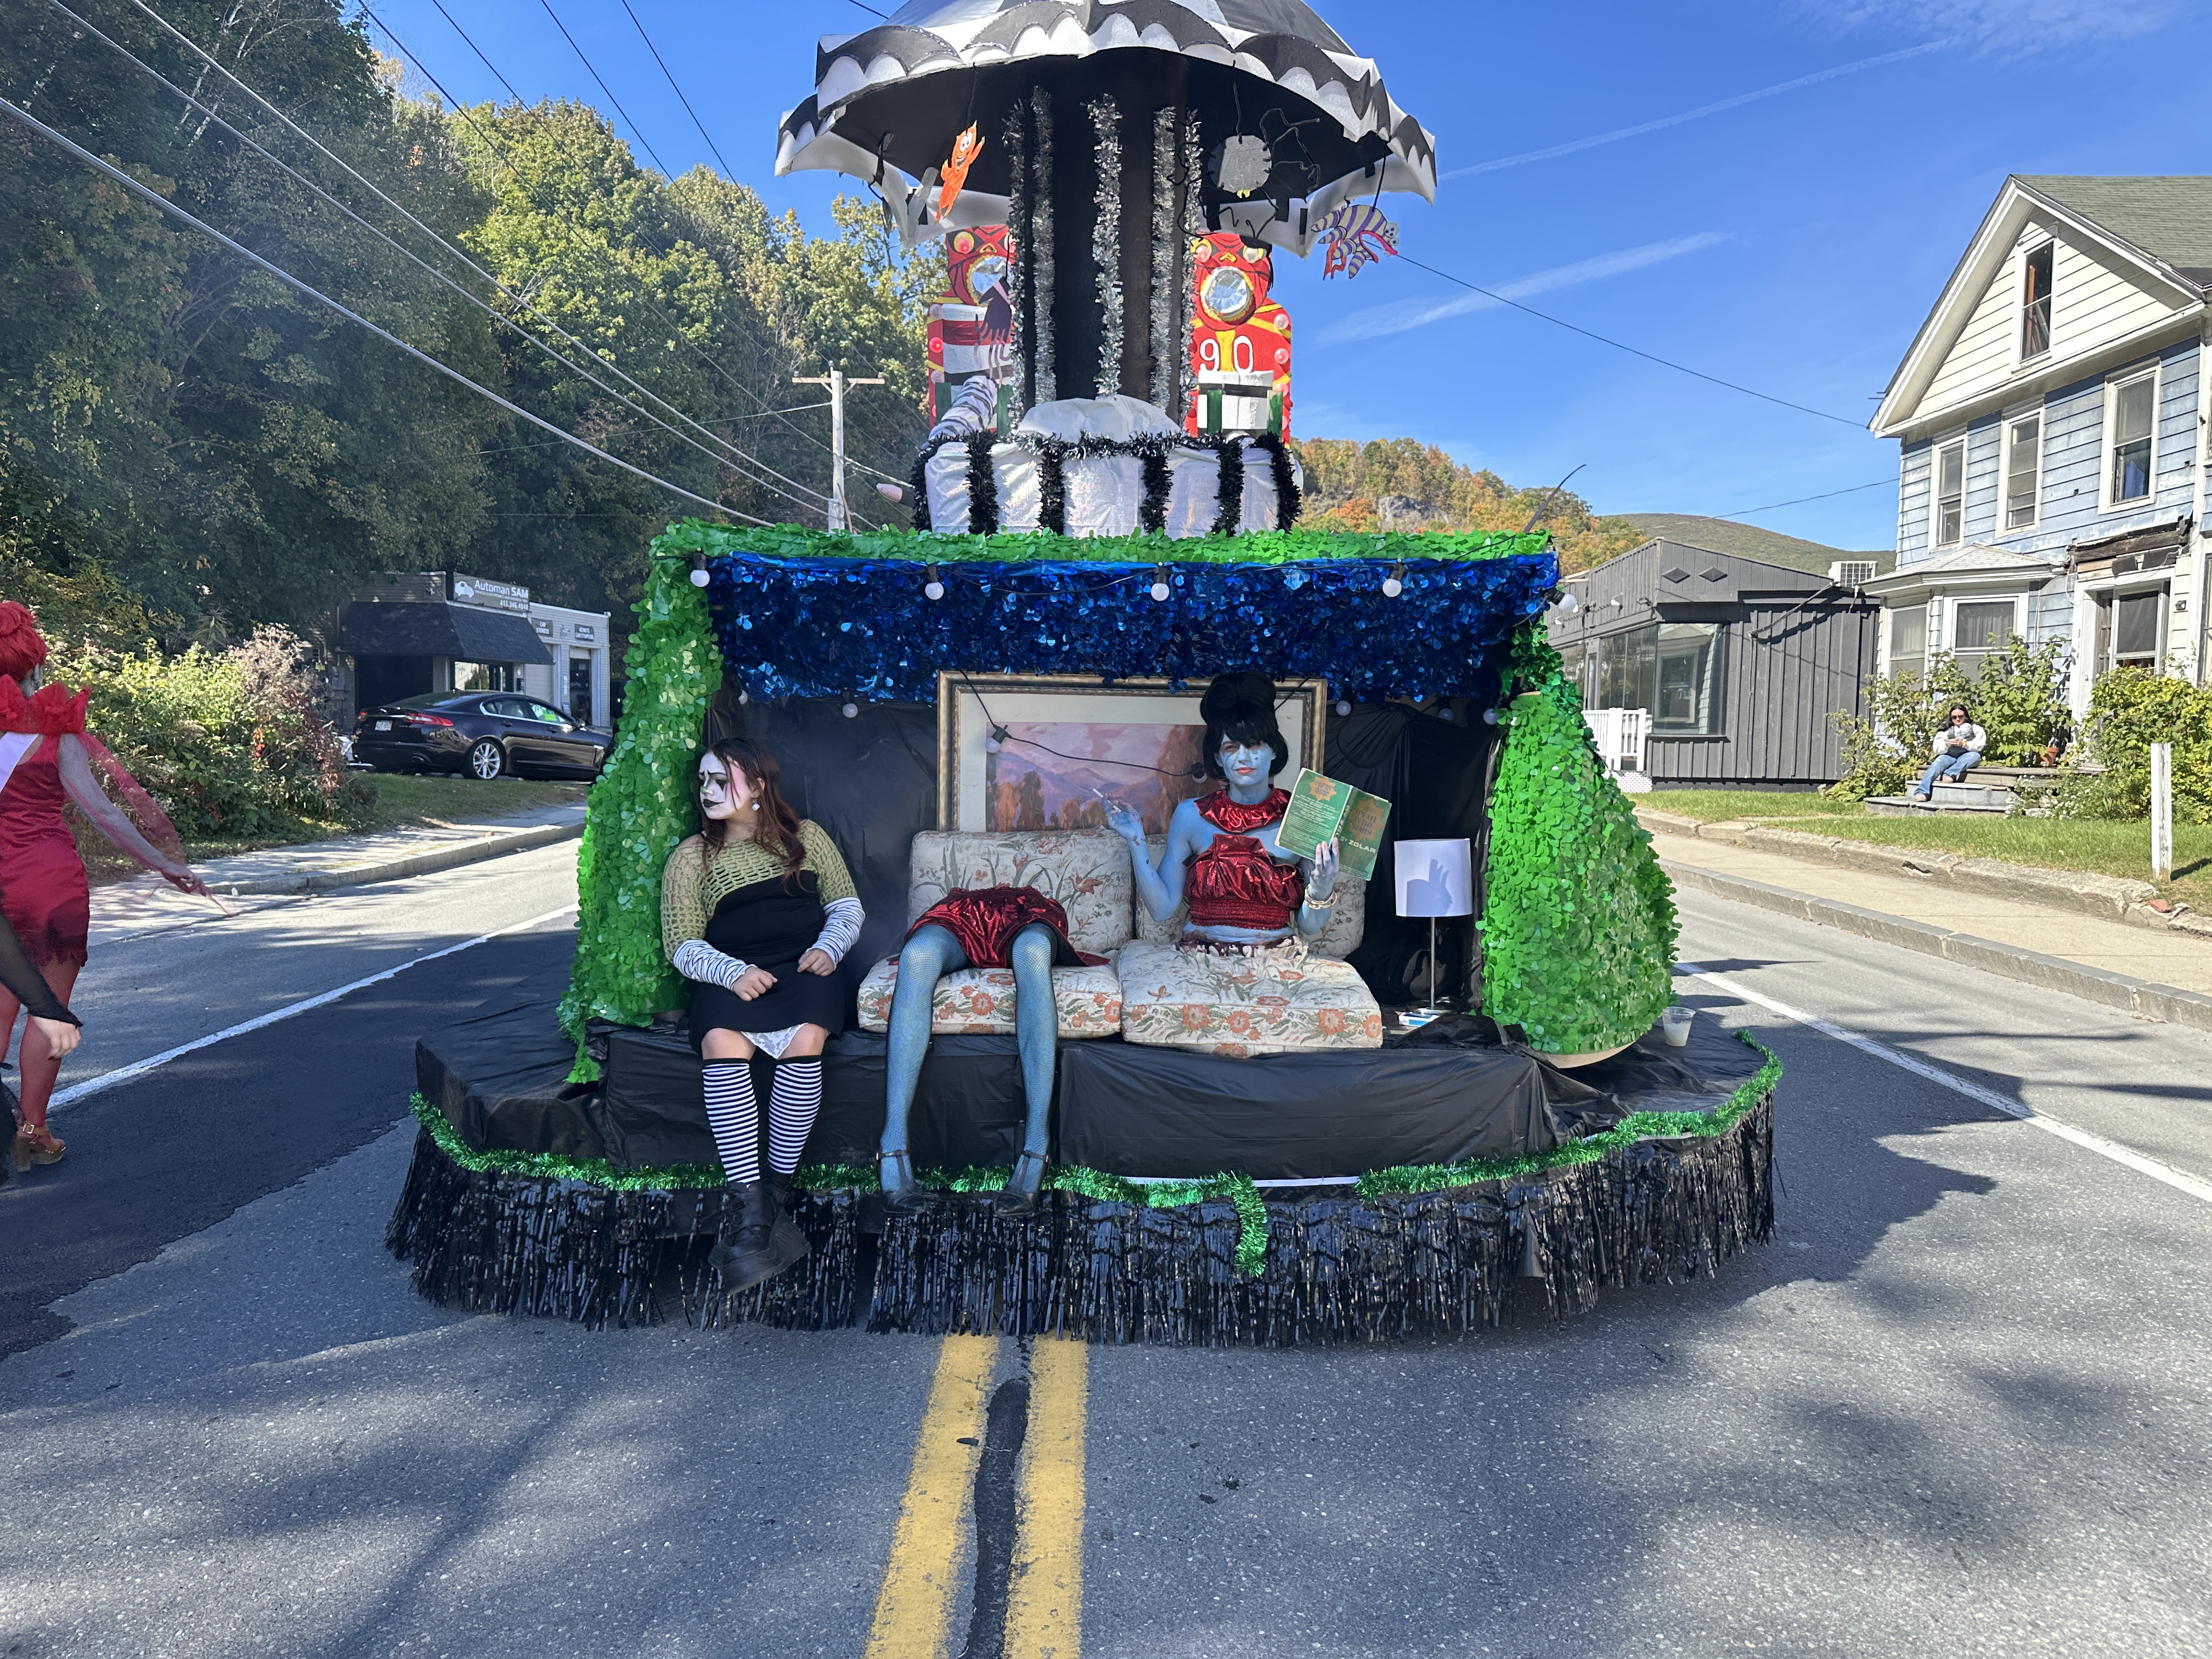
Bringing a project like this together takes weeks of hard work, creativity, determination, and an amazing team. Everyone contributes, using their unique talents and trying new things.
Working on this float was not just a technical challenge, but also an incredibly rewarding experience. From troubleshooting the lighting system to collaborating with such a talented group of friends, this project reminded me how much creativity and community go hand in hand. It’s always exciting to see ideas come to life, especially in such a fun and public way.
Looking back, I’m proud of what we accomplished and grateful for the opportunity to contribute to something that brings joy to our community. I can’t wait to take what I’ve learned from this project and apply it to future builds. Here’s to more ambitious ideas, creative problem-solving, and the power of teamwork!
