Running Airflow & Docker on a Raspberry Pi
airflow docker raspberry pi
Apache Airflow is a great open source pipeline orchestration platform. Think: “Do this, then that, and then finally this”. It’s feature rich and has a large community of developers. Some highlights are
- It’s free (or can be),
- You can define workflows in code,
- There’s a wide variety of out of the box Operators for doing work,
- It ships with a nice GUI for monitoring and triggering workflows, and
- Convenient storage and retrieval of credentials & variables within the Airflow ecosystem.
Having said that, why run it on a Raspberry Pi? The answer to that is two fold
- A Raspberry Pi is cheap, Airflow is free, and I’ve got work that needs done!
- And basically, because it’s cool. Learning by doing is the best way of understanding how something works, and can help give you an advantage in real work situations where you might be running Airflow on a SaaS platform. By running it yourself you’re guaranteed to run into errors 🚨, get frustrated 😡, and ultimately learn something you otherwise wouldn’t 😁.
This is meant to be the simplest, bare bones, example of running Airflow on a Raspberry Pi. Hopefully that way you can take a simple example, conceptualize its workings and build something cool from there. No magic sauce here 🧙🏼♀️.
For a much more thorough example of running Airflow in a Docker container, I recommend checking out the amazing puckel/docker-airflow repo. It has served wonders in me learning about both Docker and Airflow.
Table Of Contents
- Getting Started
- Installing Docker
- Creating the Docker Image
- Building Airflow and Starting the Container
- Building a test DAG
- That’s A Wrap
Getting Started
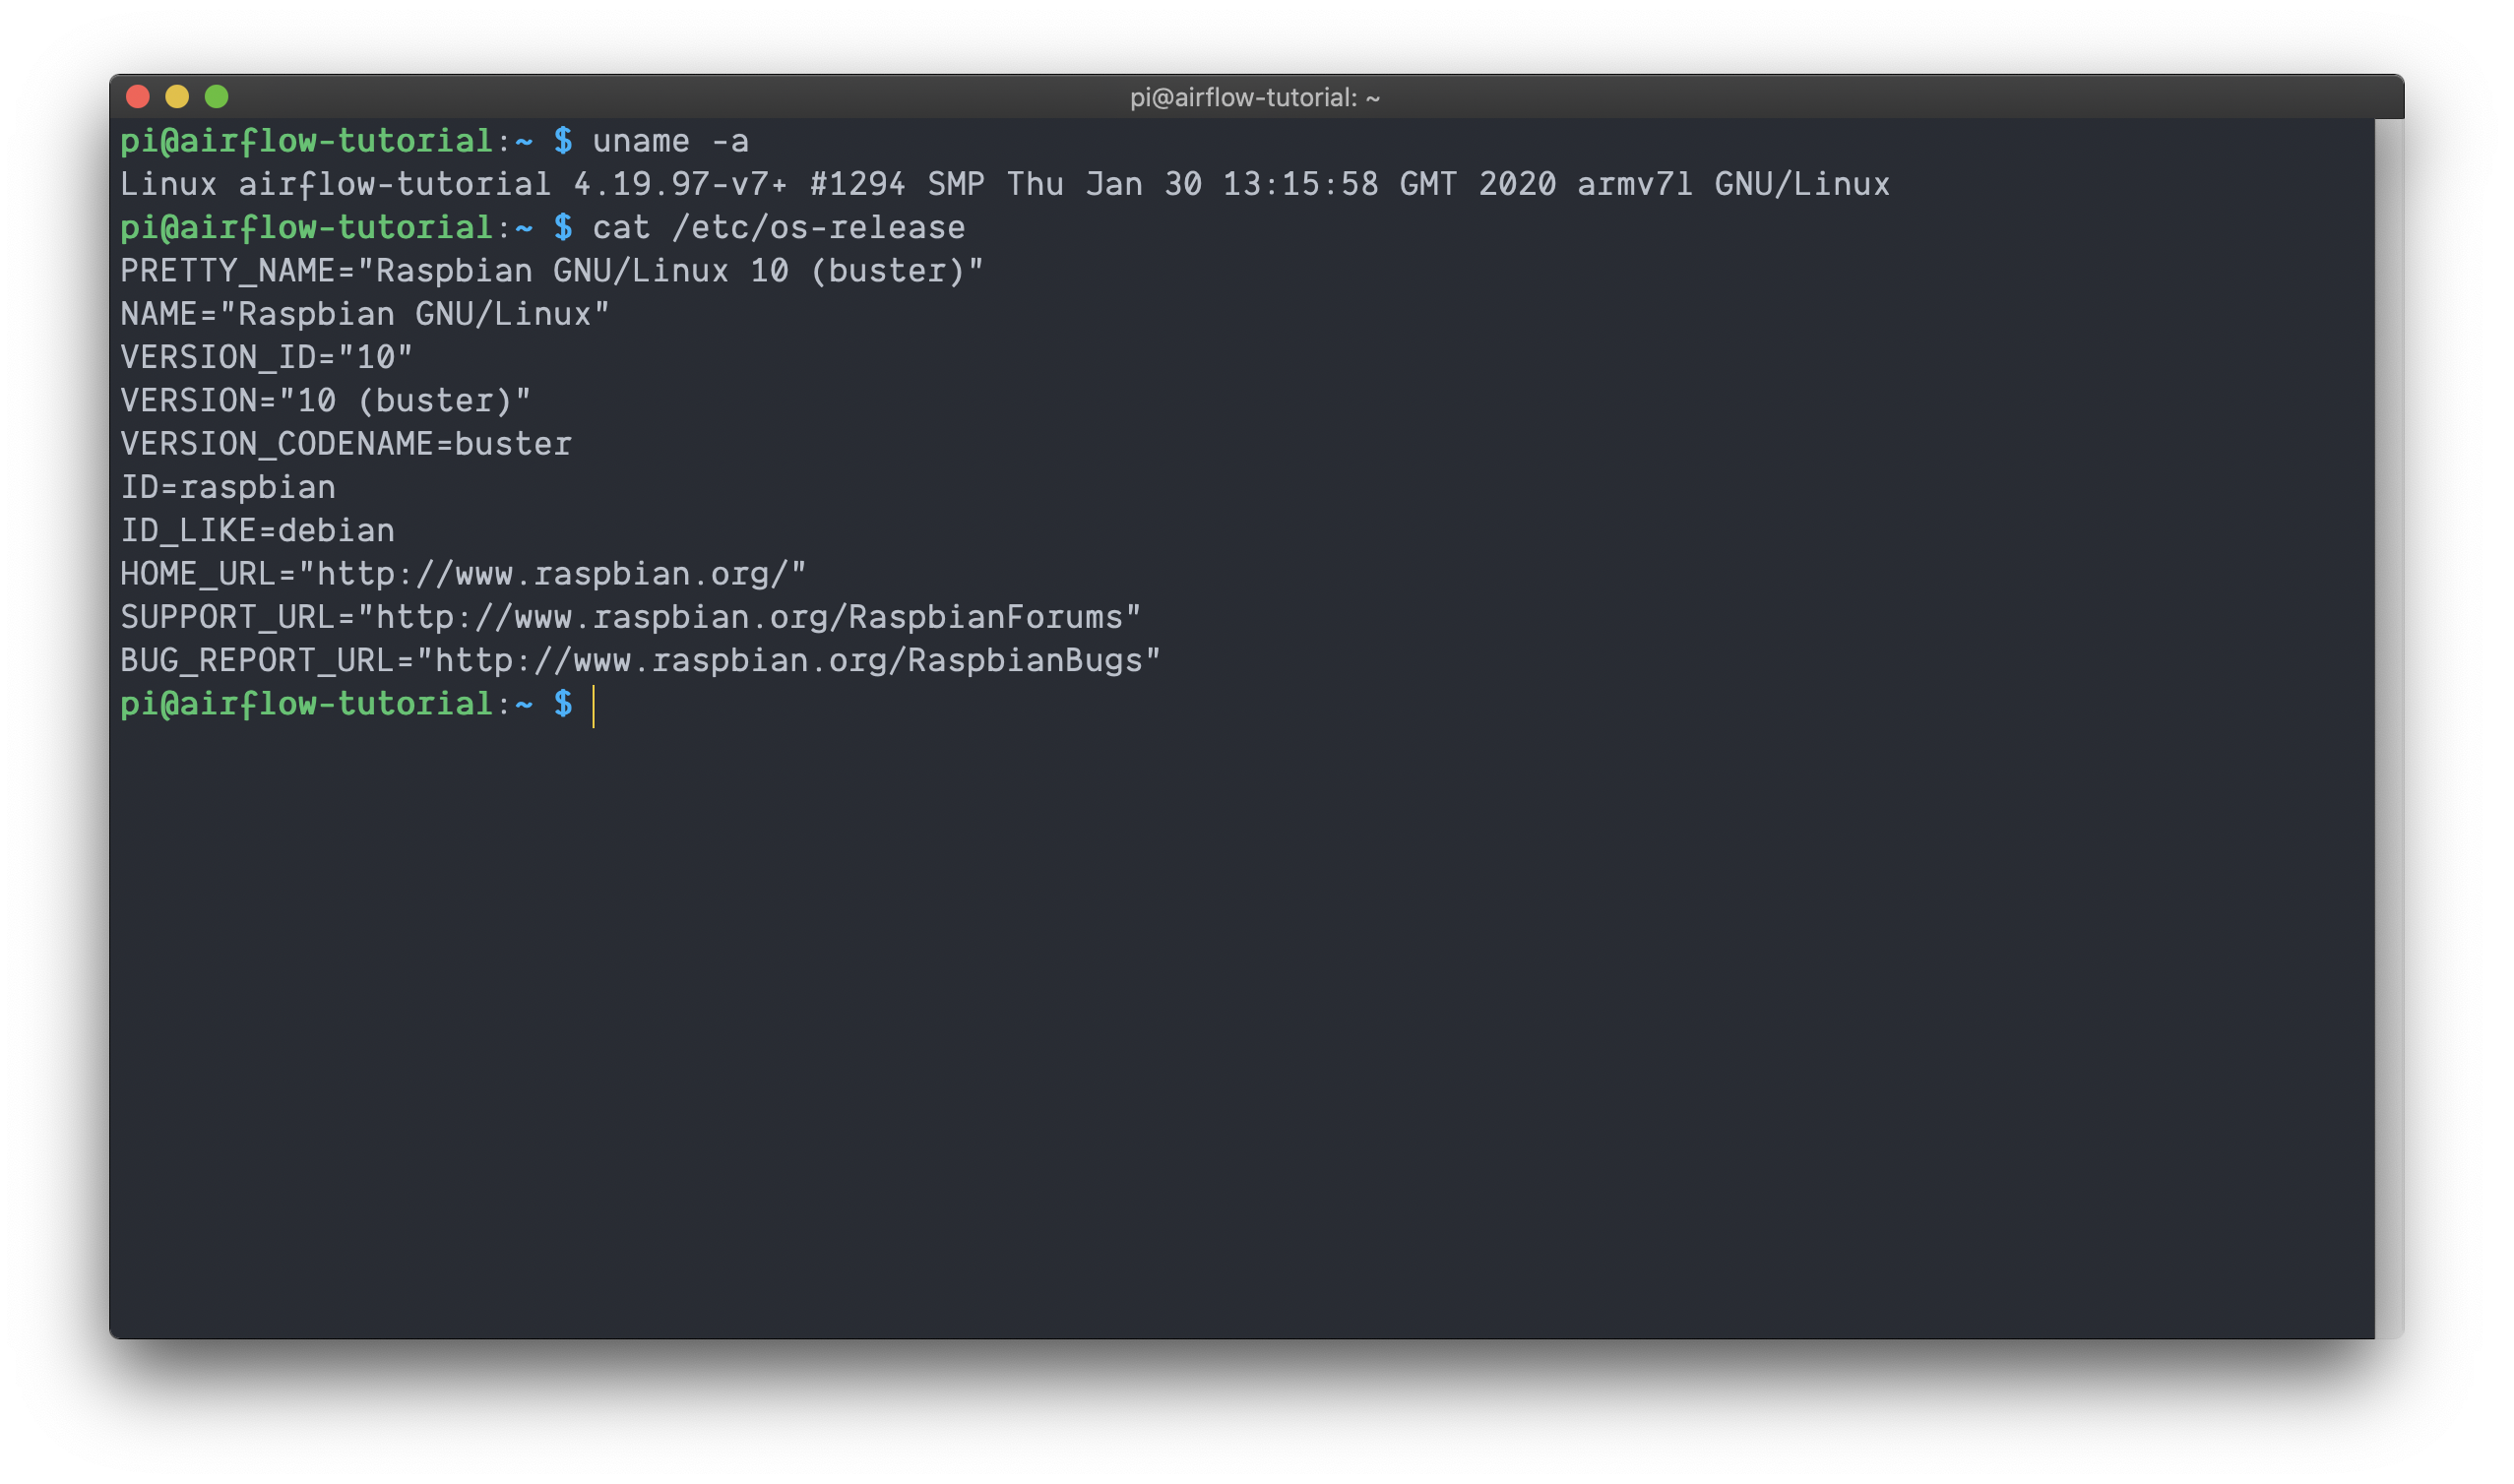
First things first - it’s always best to start with a clean slate. I recommend installing a fresh copy of Raspian on a new SD card. If you need some help check out Installing Raspian & Configuring for Headless Access.
In this post I’m using the 2020-02-13-raspbian-buster-lite.img distribution of Buster Lite on a Raspberry Pi 3 Model B V1.2.
With that said, let’s make sure we’re all up to date by running
sudo apt-get update && sudo apt-get upgrade -y
Installing Docker
Per Docker’s documentation Raspian users can’t install through apt yet and must use the convenience script. Following their documentation, run
curl -fsSL https://get.docker.com -o get-docker.sh
sudo sh get-docker.sh
This will download the convenience script, execute it and install Docker.
Once that finishes, add your user (for me that’s pi) to the docker user group so we can run docker commands without sudo.
sudo usermod -aG docker pi
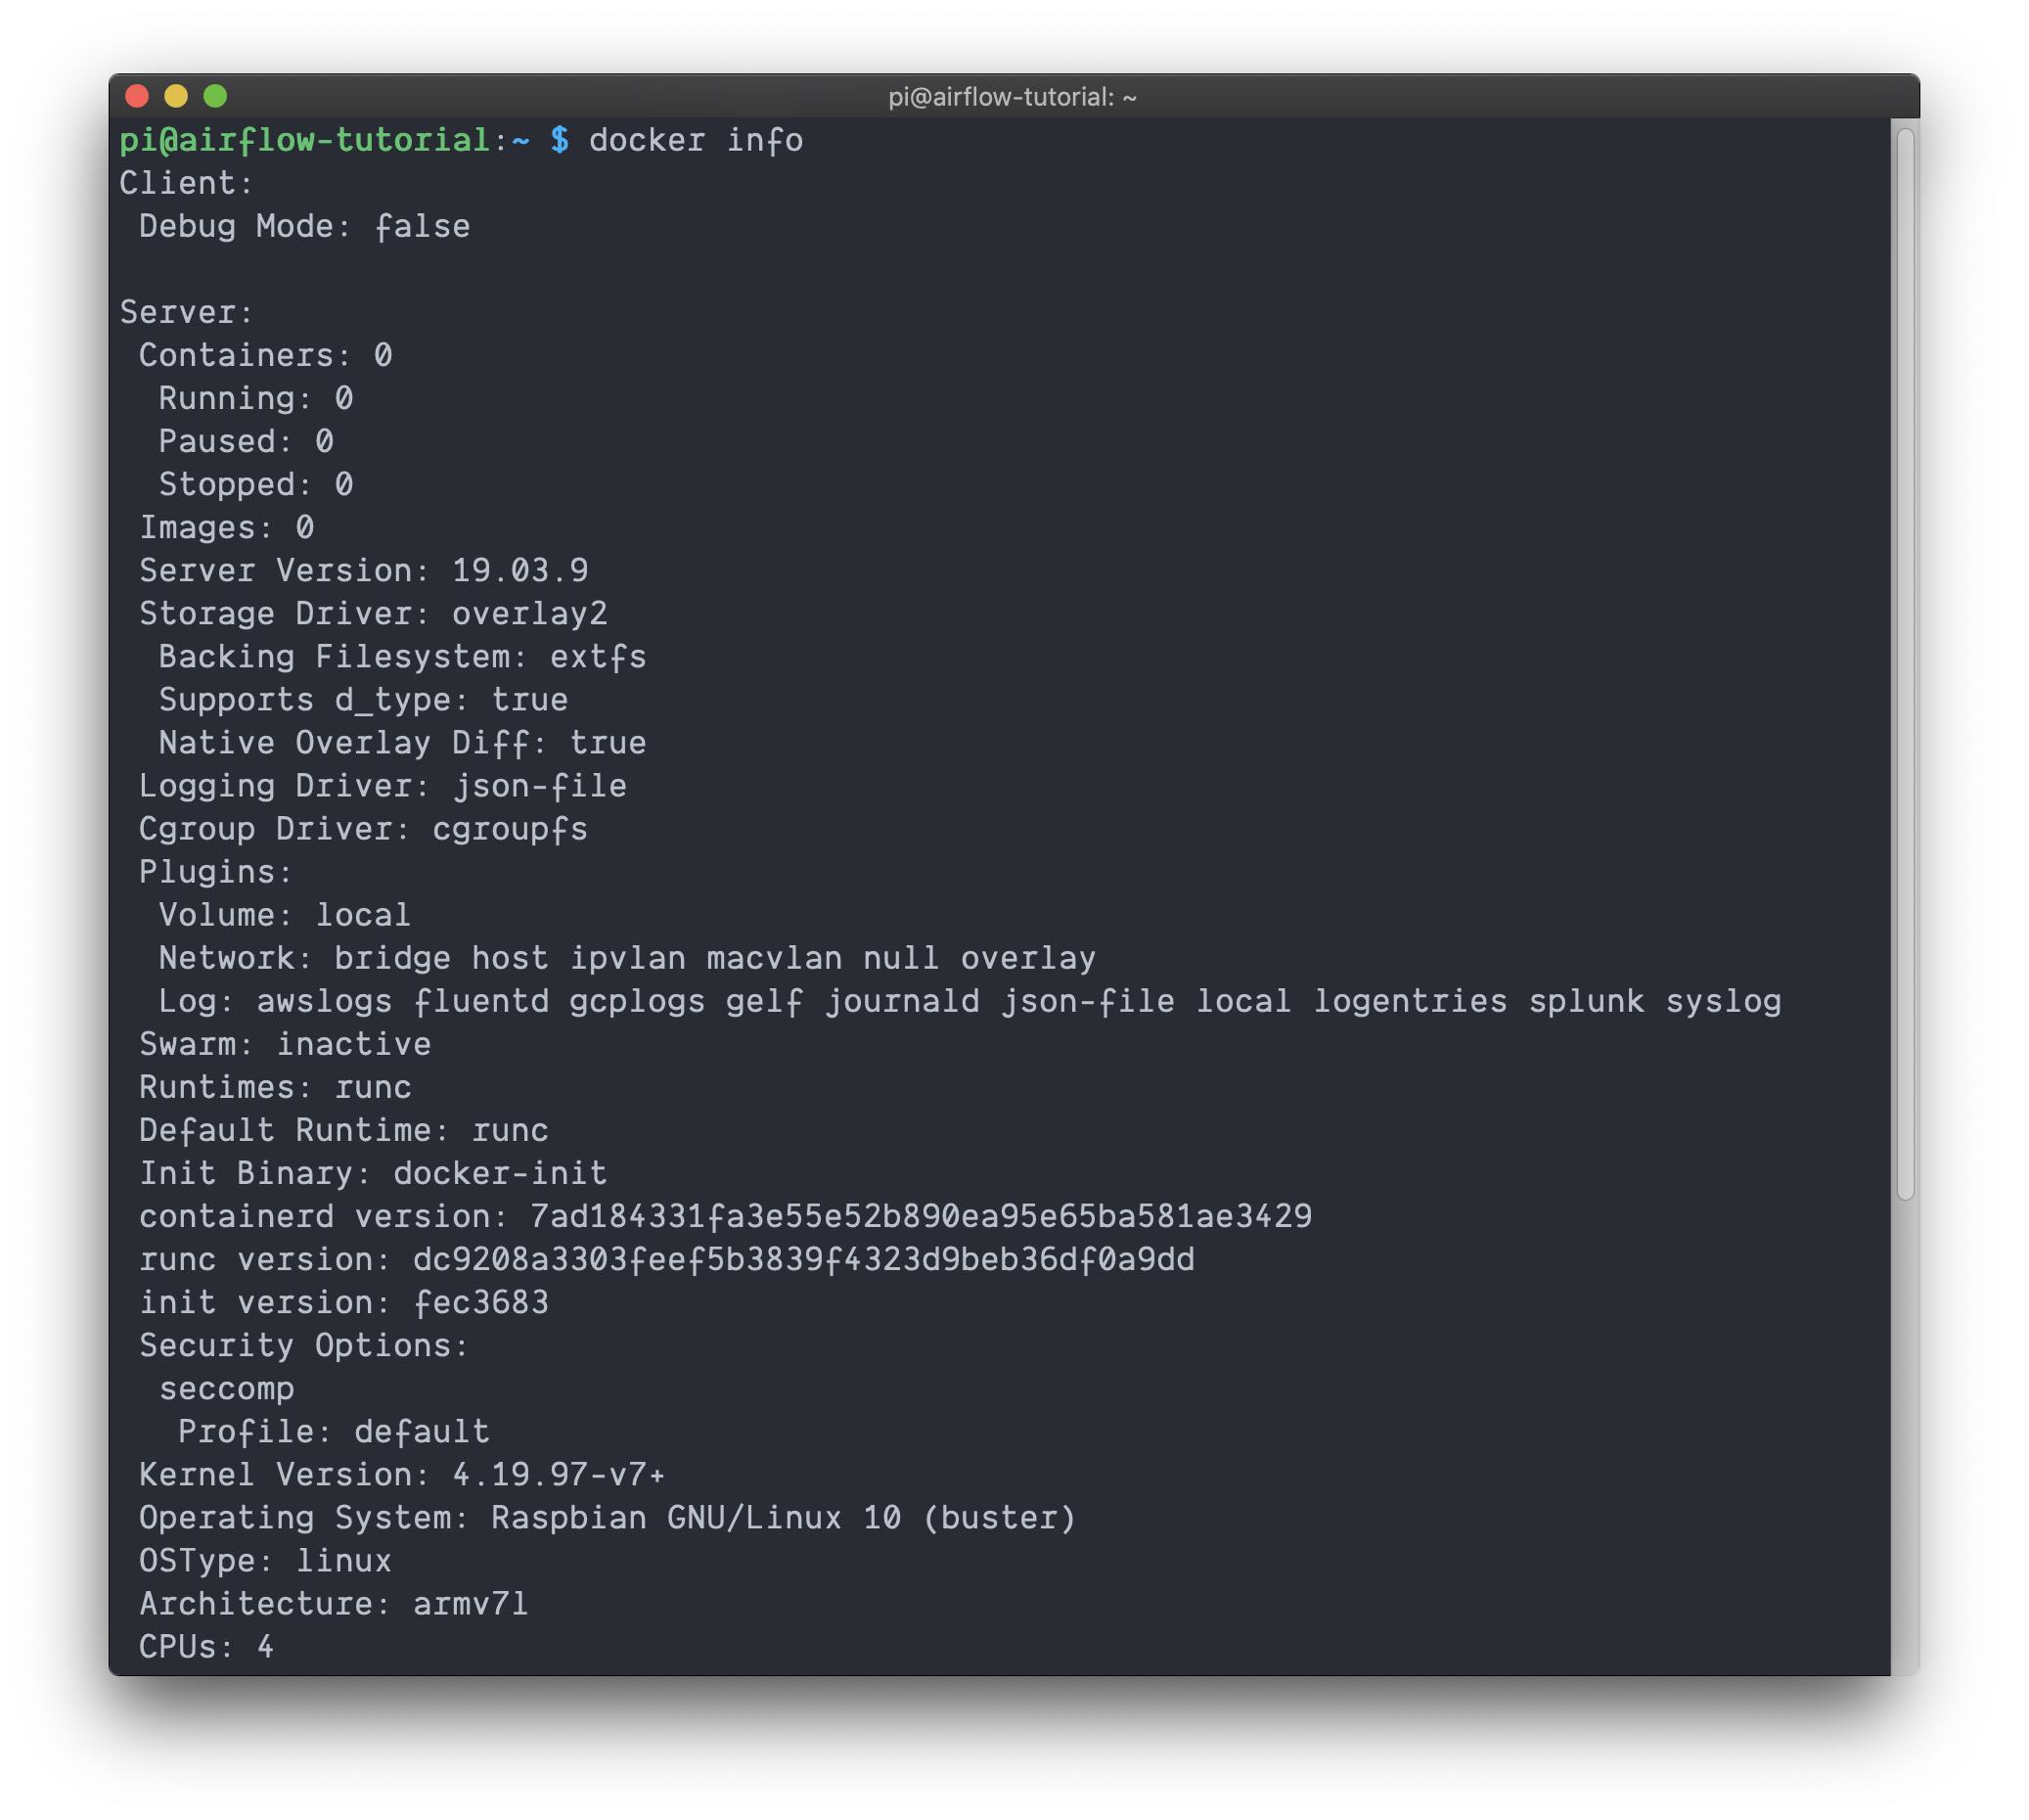
Next, confirm we’re in the clear by running docker info. You should see something similar to
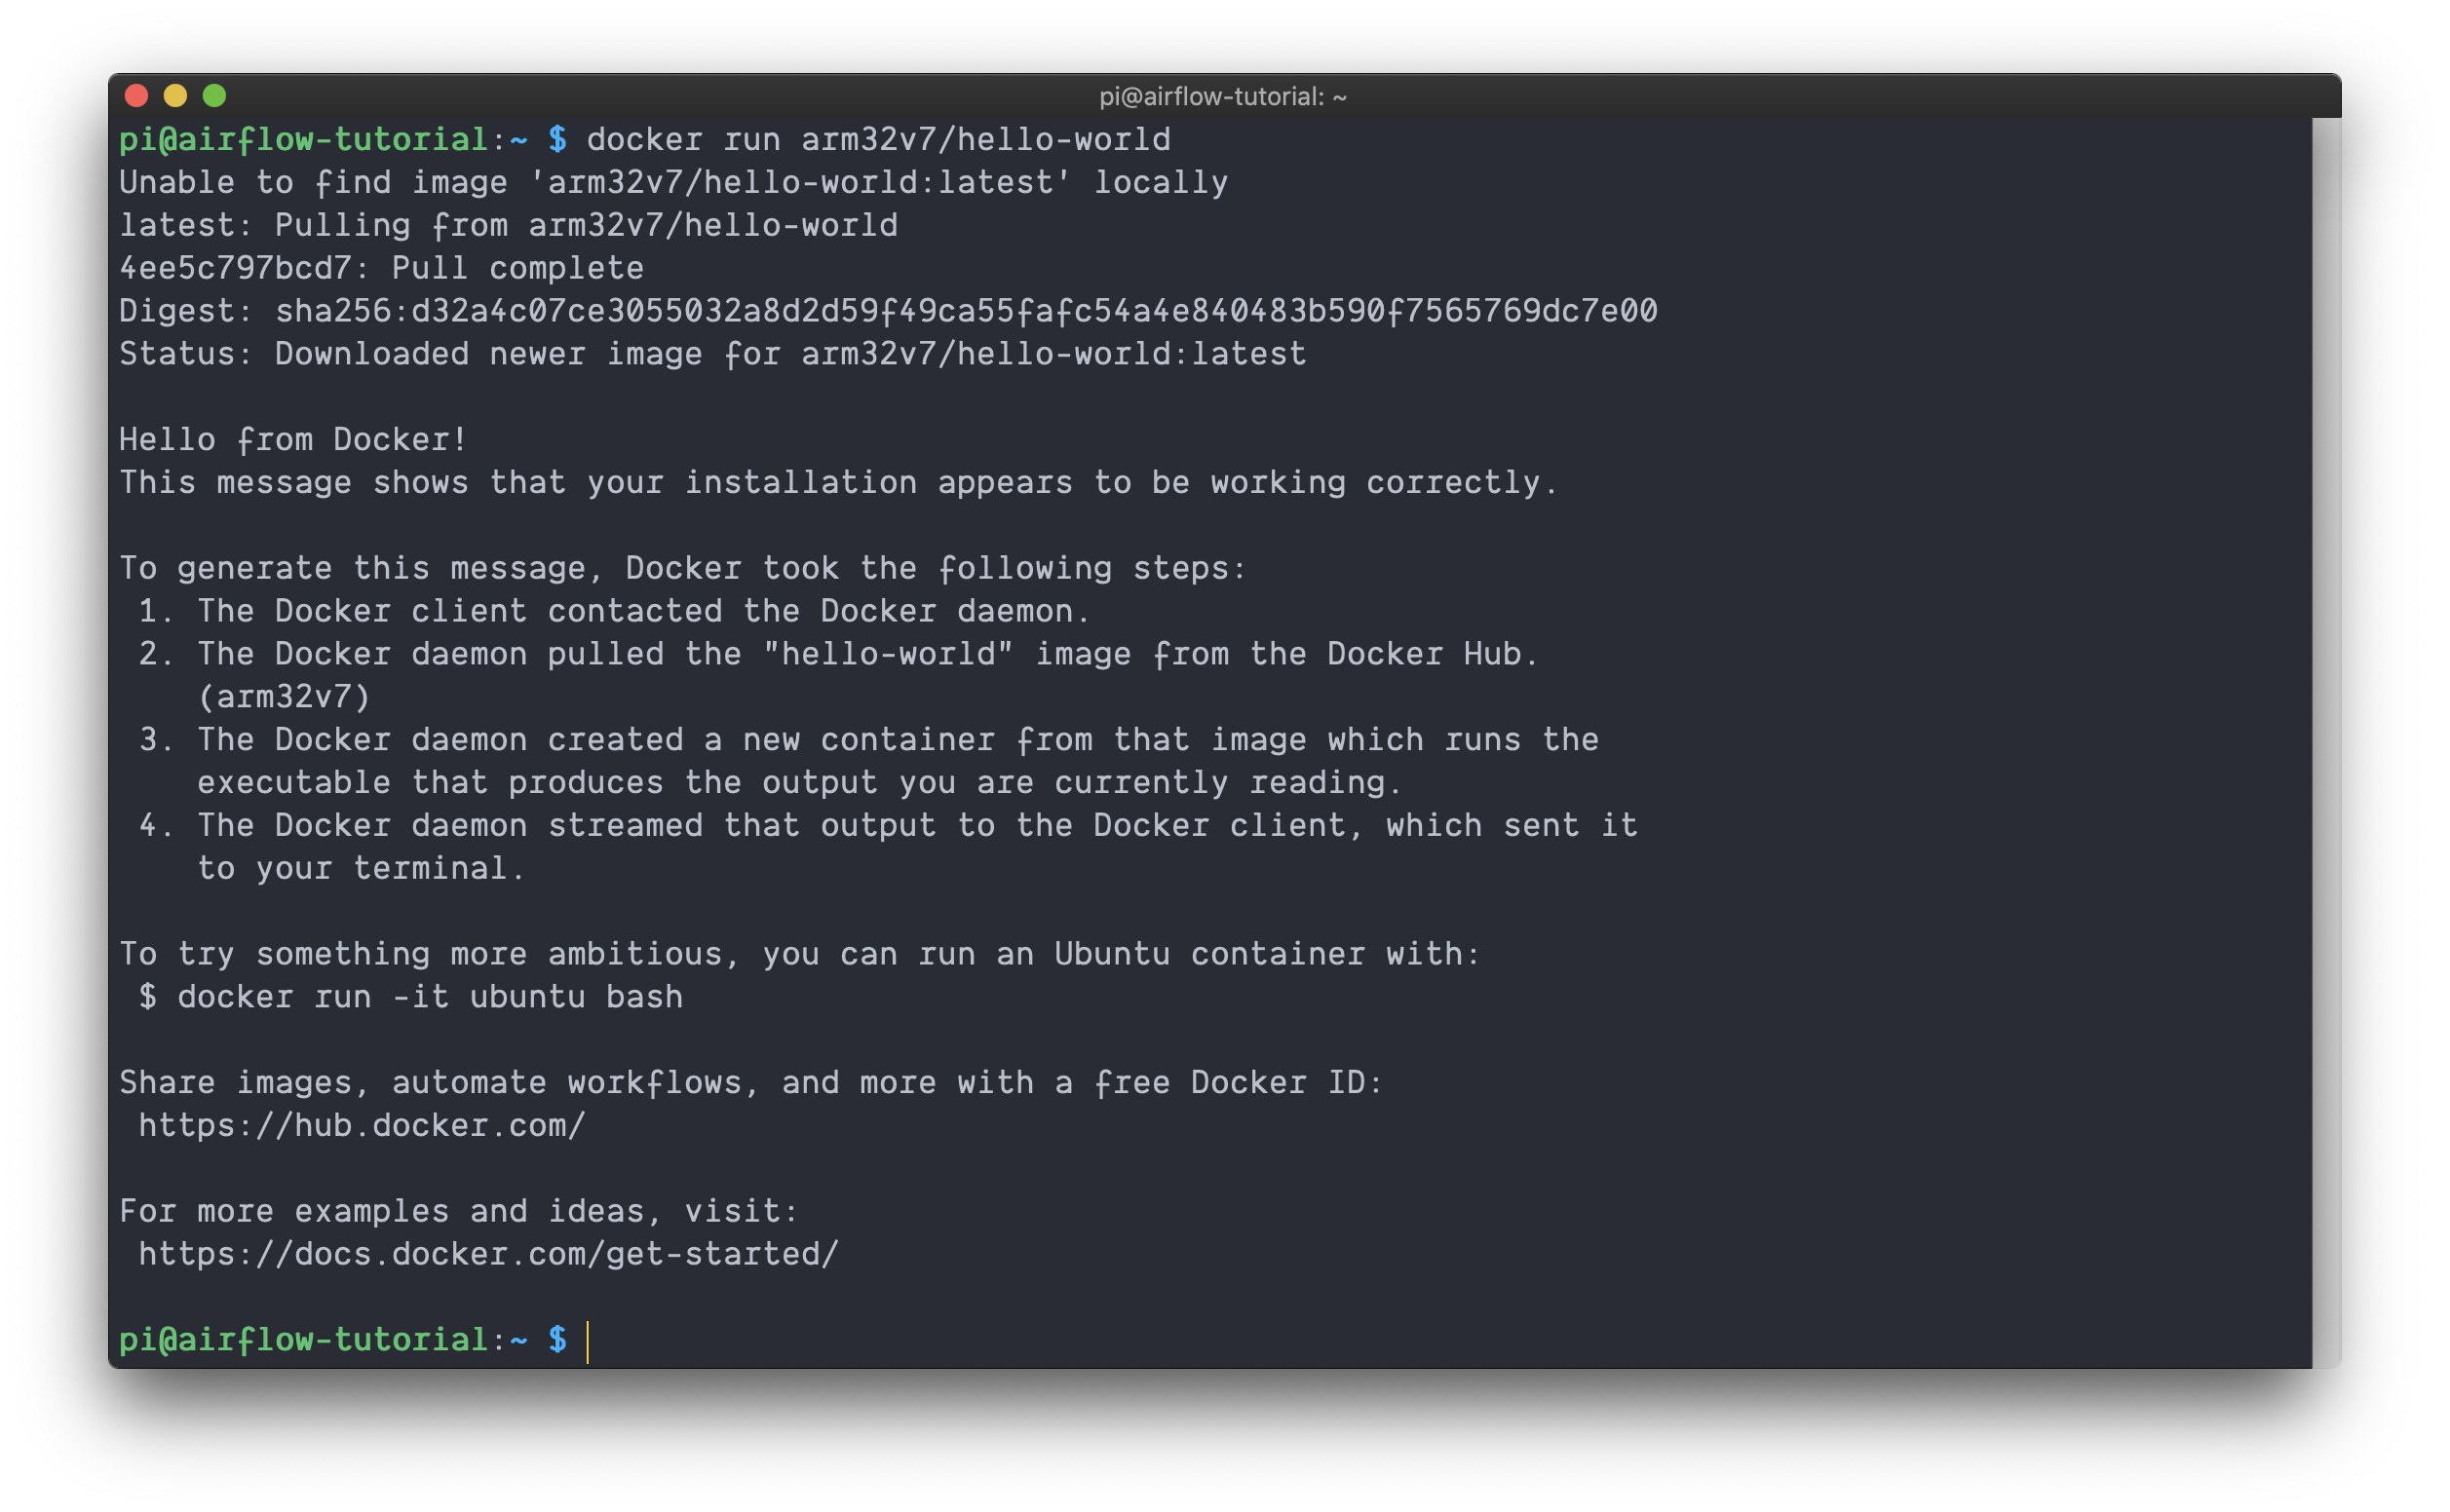
As a final test let’s run docker run arm32v7/hello-world. This will pull the image from Docker Hub, start a container using the image and print some confirmation messages. If successful you should see
Creating the Docker Image
In order for Docker to know how to build our Airflow image, we’re going to need to add some configuration. Below we’ll create a directory to store our project and create two files that tell Docker what it needs to know!
Creating the project directory
Let’s make a new folder docker-airflow-tutorial and cd into it. This is where we’ll store our project files.
mkdir docker-airflow-tutorial && cd docker-airflow-tutorial
Creating the Dockerfile
Next, we’ll create our Dockerfile. The Dockerfile is to the Docker image what a recipe is to a cake. It tells Docker how to build an image that will eventually be used to run our container. I guess that makes the container the stomach (TODO: remove bad analogy 🤷🏼♂️)? Your Dockerfile should look like this
FROM python:3.7-slim-buster

RUN apt-get update -yqq \
    	&& apt-get upgrade -yqq \
    	&& apt-get install -yqq --no-install-recommends \
	apt-utils \
	build-essential \
	libffi-dev \
	libpq-dev \
	libssl-dev \
	python3-pandas \
	python3-numpy

ENV PYTHONPATH="${PYTHONPATH}:/usr/lib/python3/dist-packages"

RUN pip install -U pip setuptools wheel \
	&& pip install pyOpenSSL \
    	&& pip install apache-airflow[crypto,aws,slack,postgres]

COPY ./entrypoint.sh /entrypoint.sh

EXPOSE 8080

ENV AIRFLOW_HOME=/app/airflow
ENV AIRFLOW__CORE__LOAD_EXAMPLES=False
ENV AIRFLOW__CORE__LOAD_DEFAULT_CONNECTIONS=False
ENV AIRFLOW__CORE__FERNET_KEY=this-should-be-unique-and-secret
ENV AIRFLOW__WEBSERVER__EXPOSE_CONFIG=True

ENTRYPOINT [ "/entrypoint.sh" ]
Here’s a brief summary of the Dockerfile content:
| Command | Description |
|---|---|
FROM | I’m using python:3.7-slim-buster as the base image for our project. I chose it because it’s slim, stable, and familiar. |
RUN apt-get ... | Will update, upgrade and install necessary packages from the apt repository. |
ENV PYTHONPATH | Adds dist-packages to the PYTHONPATH. numpy and pandas are installed via apt instead of pip because building them takes a long time on the Pi (~2hrs in my test 😳). The apt packages are pre-compiled and install much faster. They install in dist-packages (and might be a little older FWIW). For pip to see them and avoid installing them as a dependency for airflow I’m updating the PYTHONPATH. |
RUN pip ... | Install necessary packages, Airflow and extra subpackages. |
COPY ... | Copies the entrypoint.sh script from the Raspberry Pi into the image at build time. |
EXPOSE | Will expose port 8080 to the Raspberry Pi, that’s the Airflow’s Web UI port. |
ENV ... | Sets a number of environment variables which configure Airflow. You can read more here. |
ENTRYPOINT | Tells Docker to run entrypoint.sh at the containers start time. |
Creating the entrypoint
Next, we’ll create an entrypoint script. This file will be run when the container starts, and will initialize the backend, start the scheduler and start the frontend.
Create a new file entrypoint.sh at the root of the project folder with the following contents
#!/bin/bash

airflow initdb
airflow scheduler &
exec airflow webserver
Make the file executable by running chmod +x entrypoint.sh.
Wrapping Up
Okay… not so bad! As a quick gut check your docker-airflow-tutorial project folder should now look like this (unless you cloned the repo or changed naming conventions):
docker-airflow-tutorial
├── Dockerfile
└── entrypoint.sh
Building Airflow and Starting the Container
So far we’ve
- Installed Docker
- Defined our image in the
Dockerfileand - Created an entrypoint script.
Now it’s time to build our Airflow image 👷🏼♂️!
Building Airflow
The image we build will be used as the base for running our container.
While in the project root start the build by running
time docker build --tag airflow:0.1.0 .
Above I’ve named my image airflow, tagged it with the version 0.1.0 and also used time to see how long the build process takes.
You’ll know when the image finishes building because you’ll see something like the following
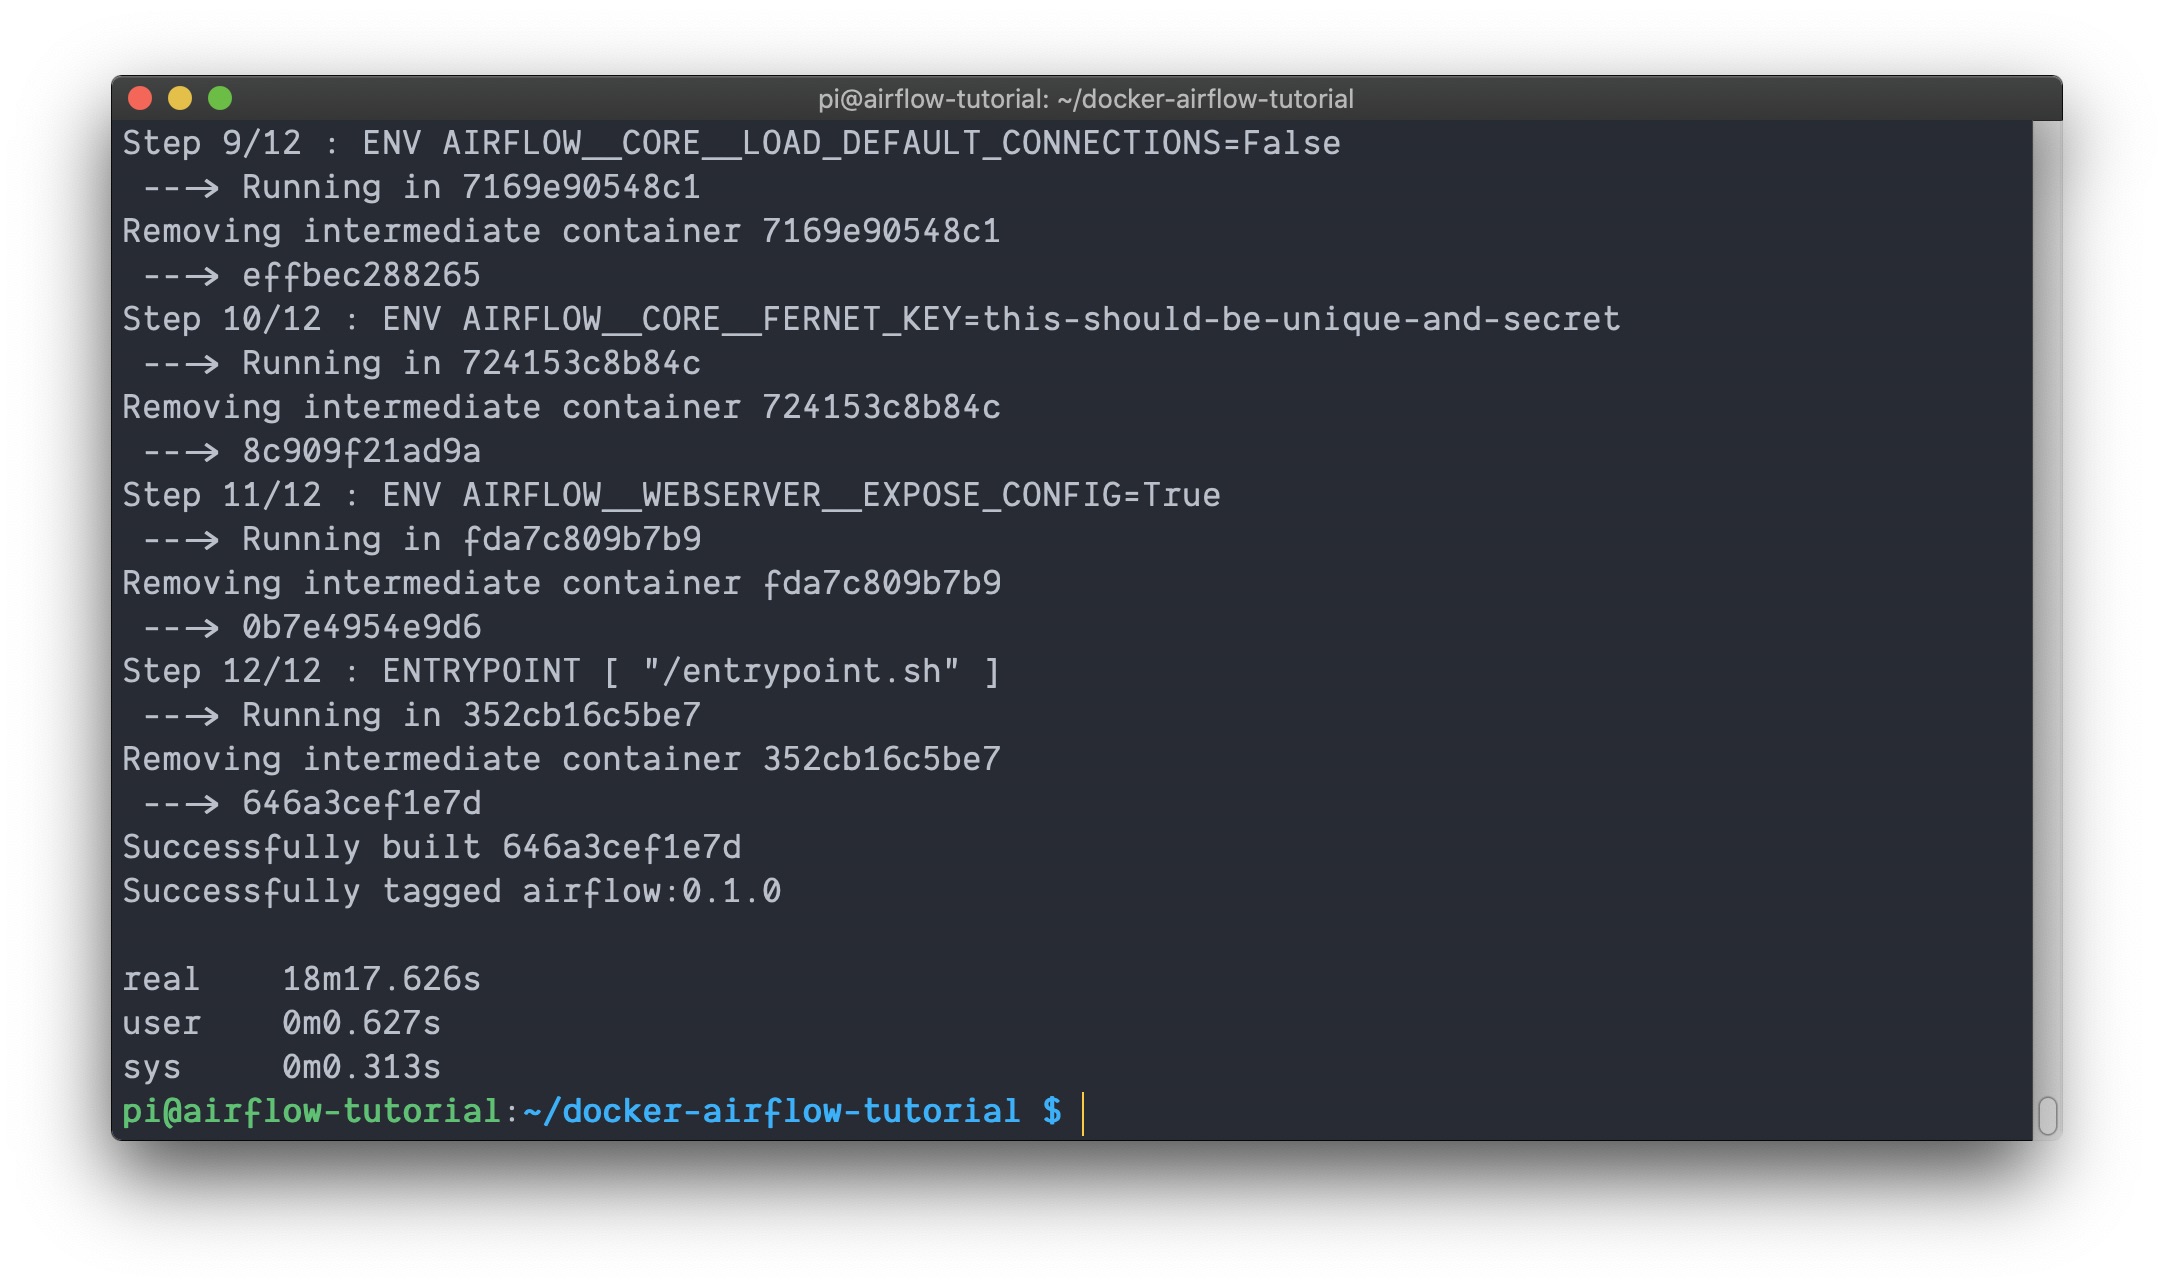
with the key 🔑 to success being the lines
Successfully built 646a3cef1e7d
Successfully tagged airflow:0.1.0
We can inspect our images by running docker images. Below, you can see the base image python:3.7-slim-buster is 108MB and our final image airflow:0.1.0 is 554MB.

Running Airflow
With the image built we can use it to run a container hosting our instance of Airflow 🚀!
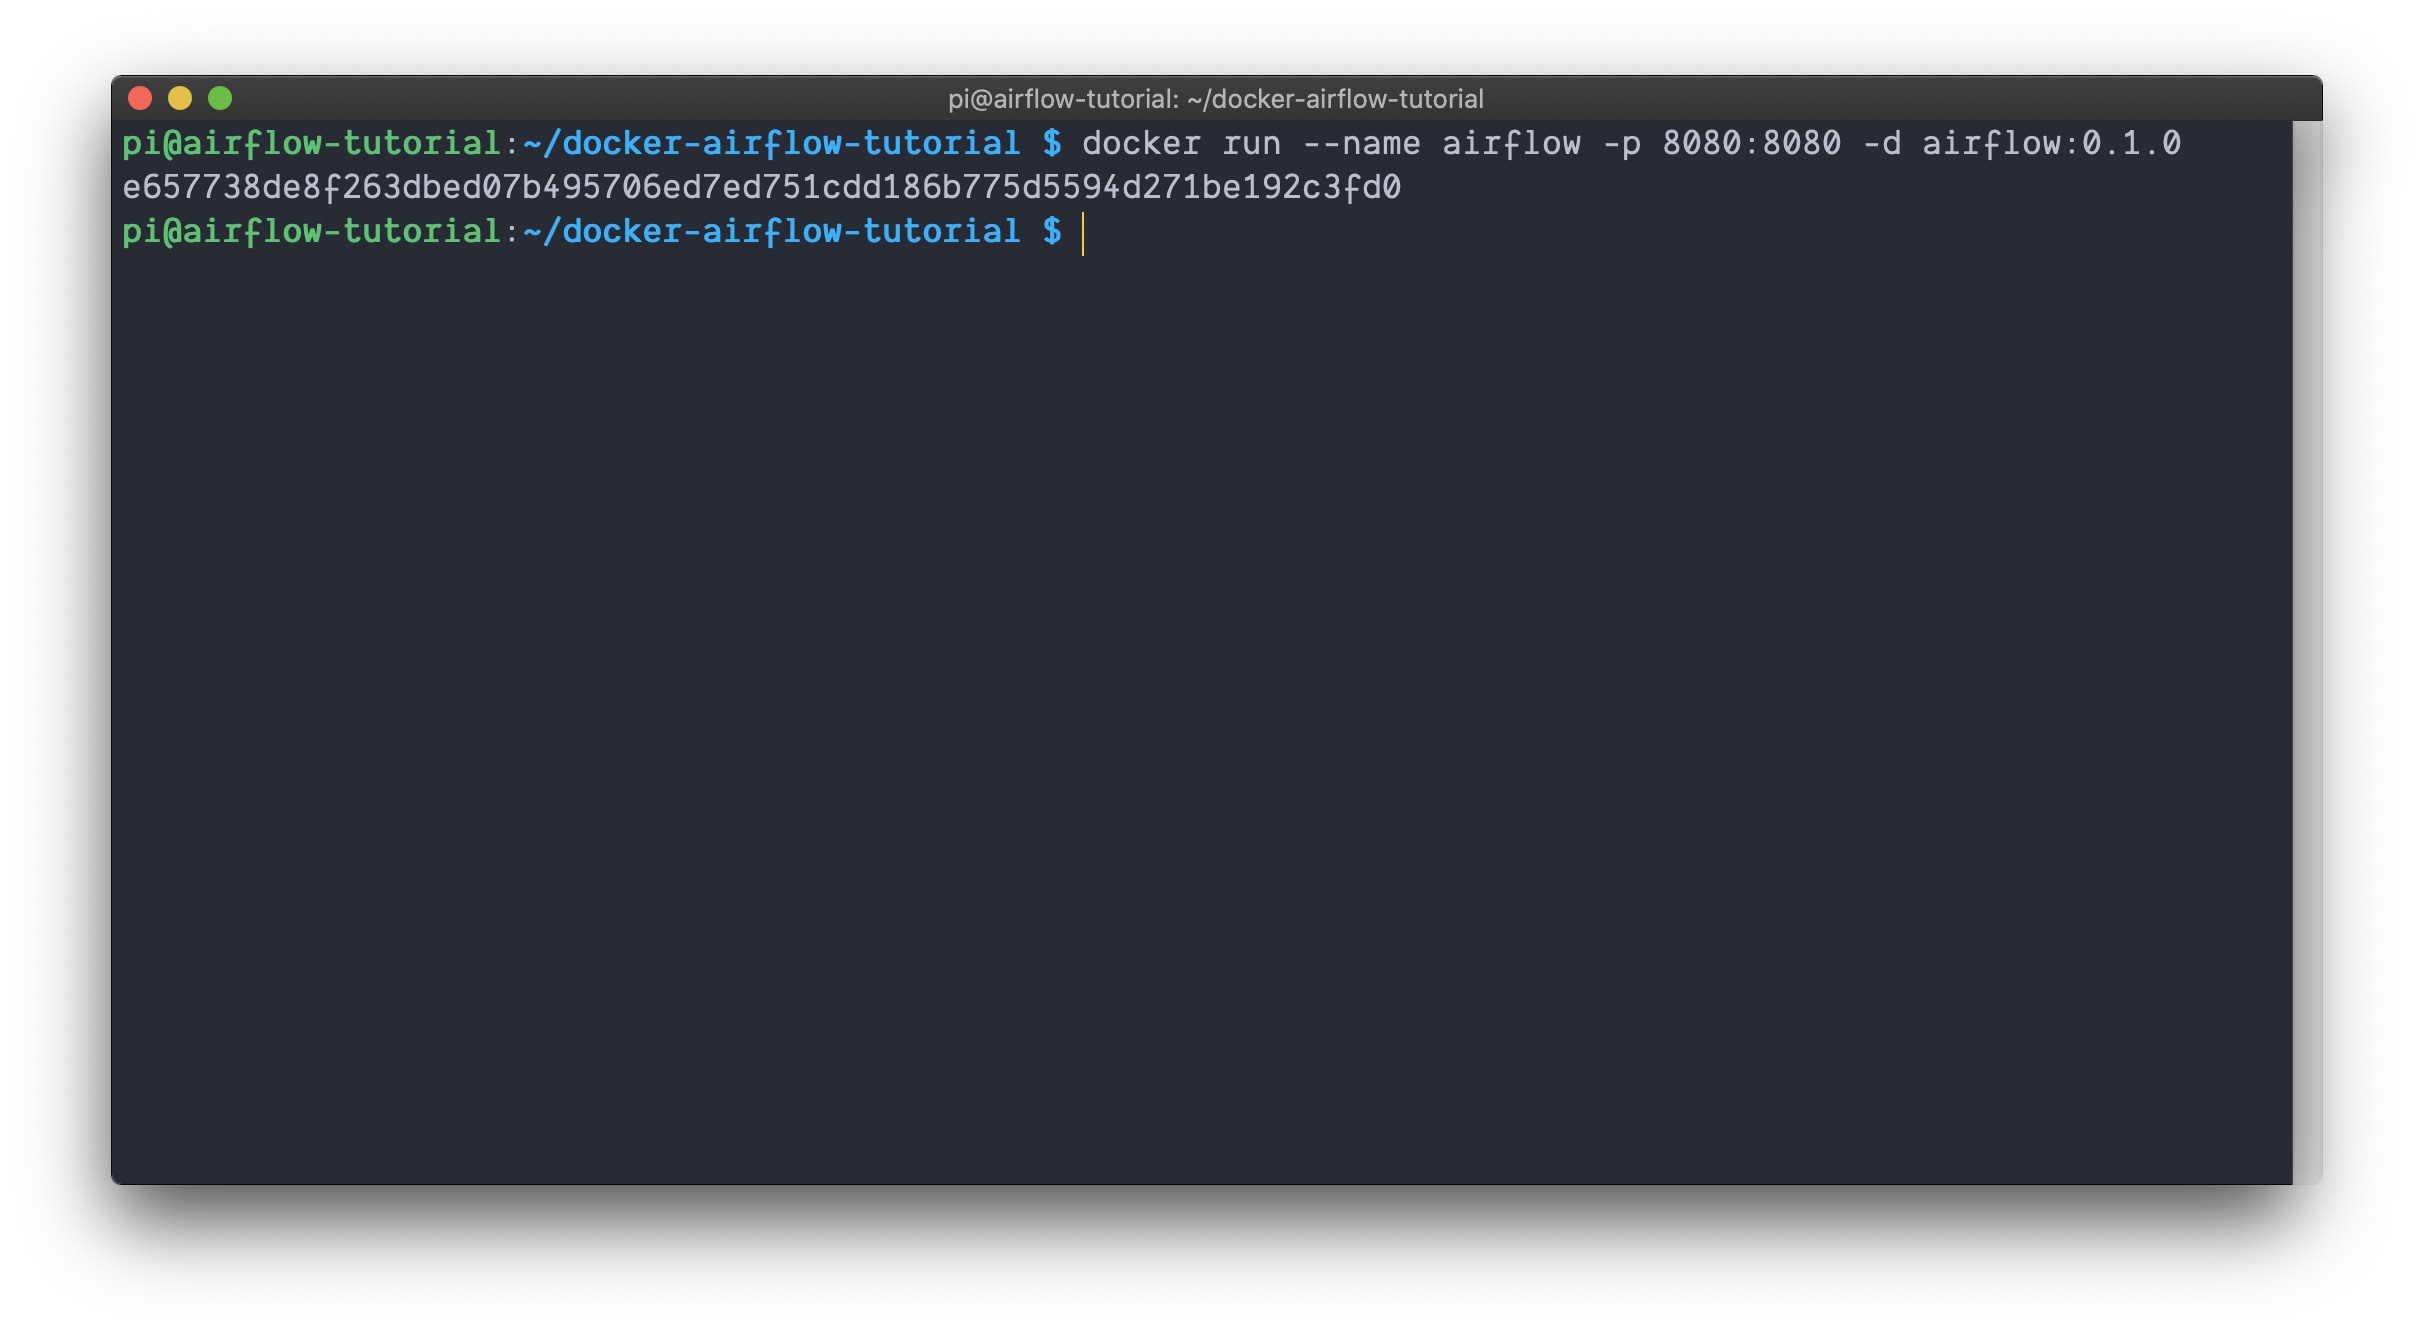
Start the container using the command below
docker run --name airflow -p 8080:8080 -d airflow:0.1.0
In the above command I called docker run and
- Named my container
airflow, - Published the container port 8080 to our host (Raspberry Pi) port 8080 so we can access the Web UI
- Ran the container in the background with
-d - And supplied our airflow image which we just built (
airflow:0.1.0).
You should see one line returned, which is the newly created container ID
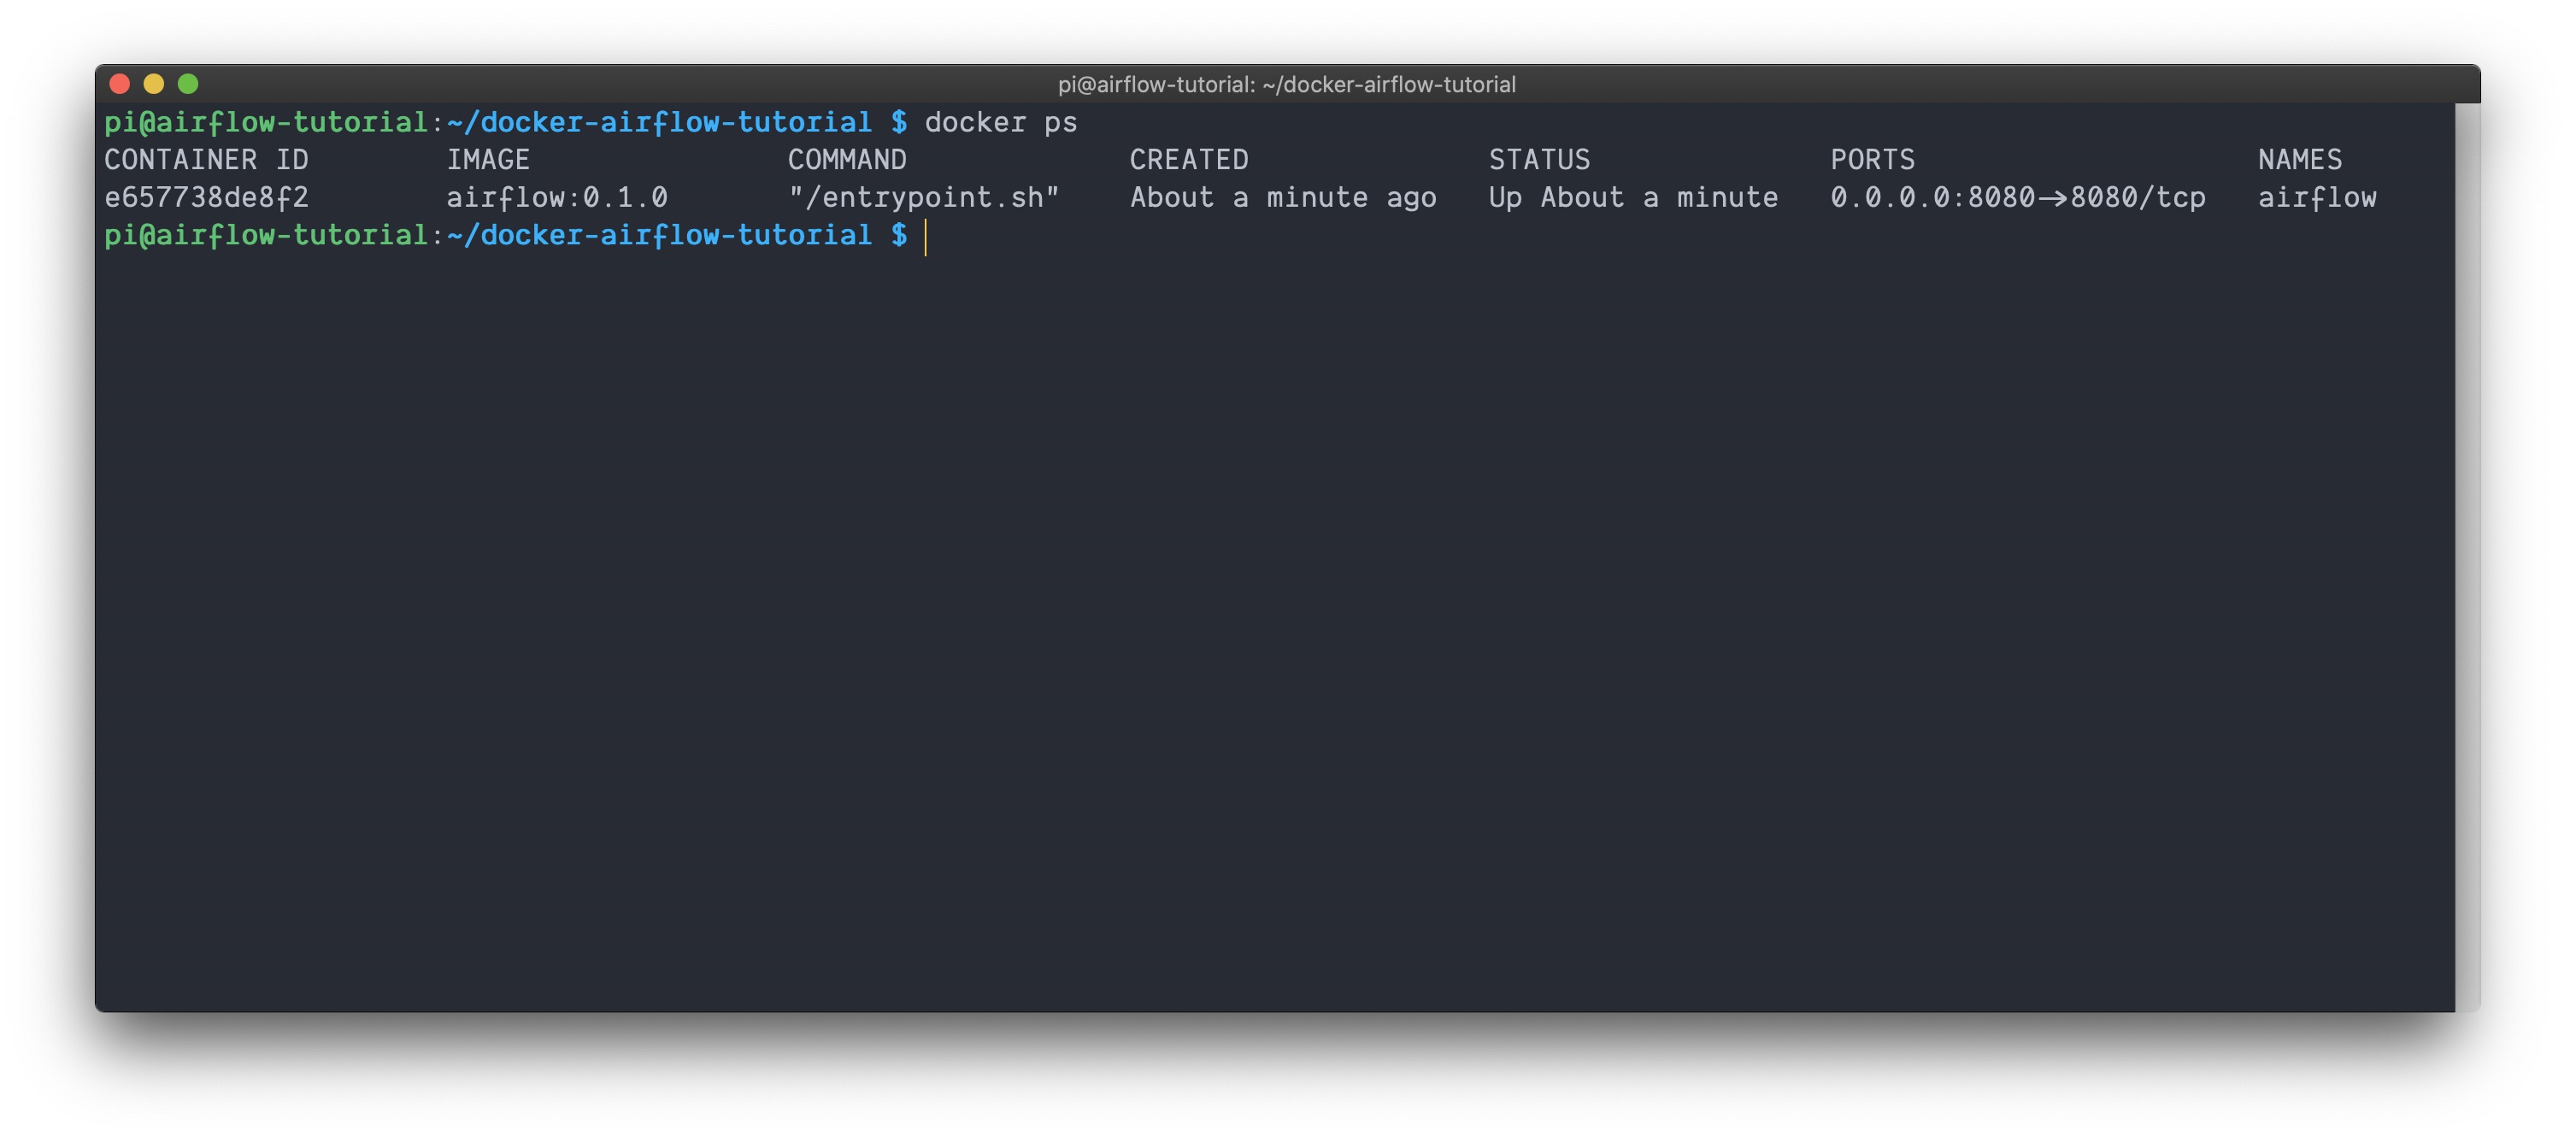
Next, we can use docker ps command to make sure our container is running. If all went according to plan you should see your container with a STATUS of Up X About a minute or Up X minutes!
Accessing the Web UI
Drum roll 🥁🥁🥁🥁!
At this point you should be able to access the frontend of Airflow by going to your browser, typing the IP address of your Pi followed by port 8080. For me, that’s 192.168.1.150:8080. You’ll be dropped into the DAGs tab, of which there are none (yet!).
docker logs -f airflow to follow the logs and check for errors.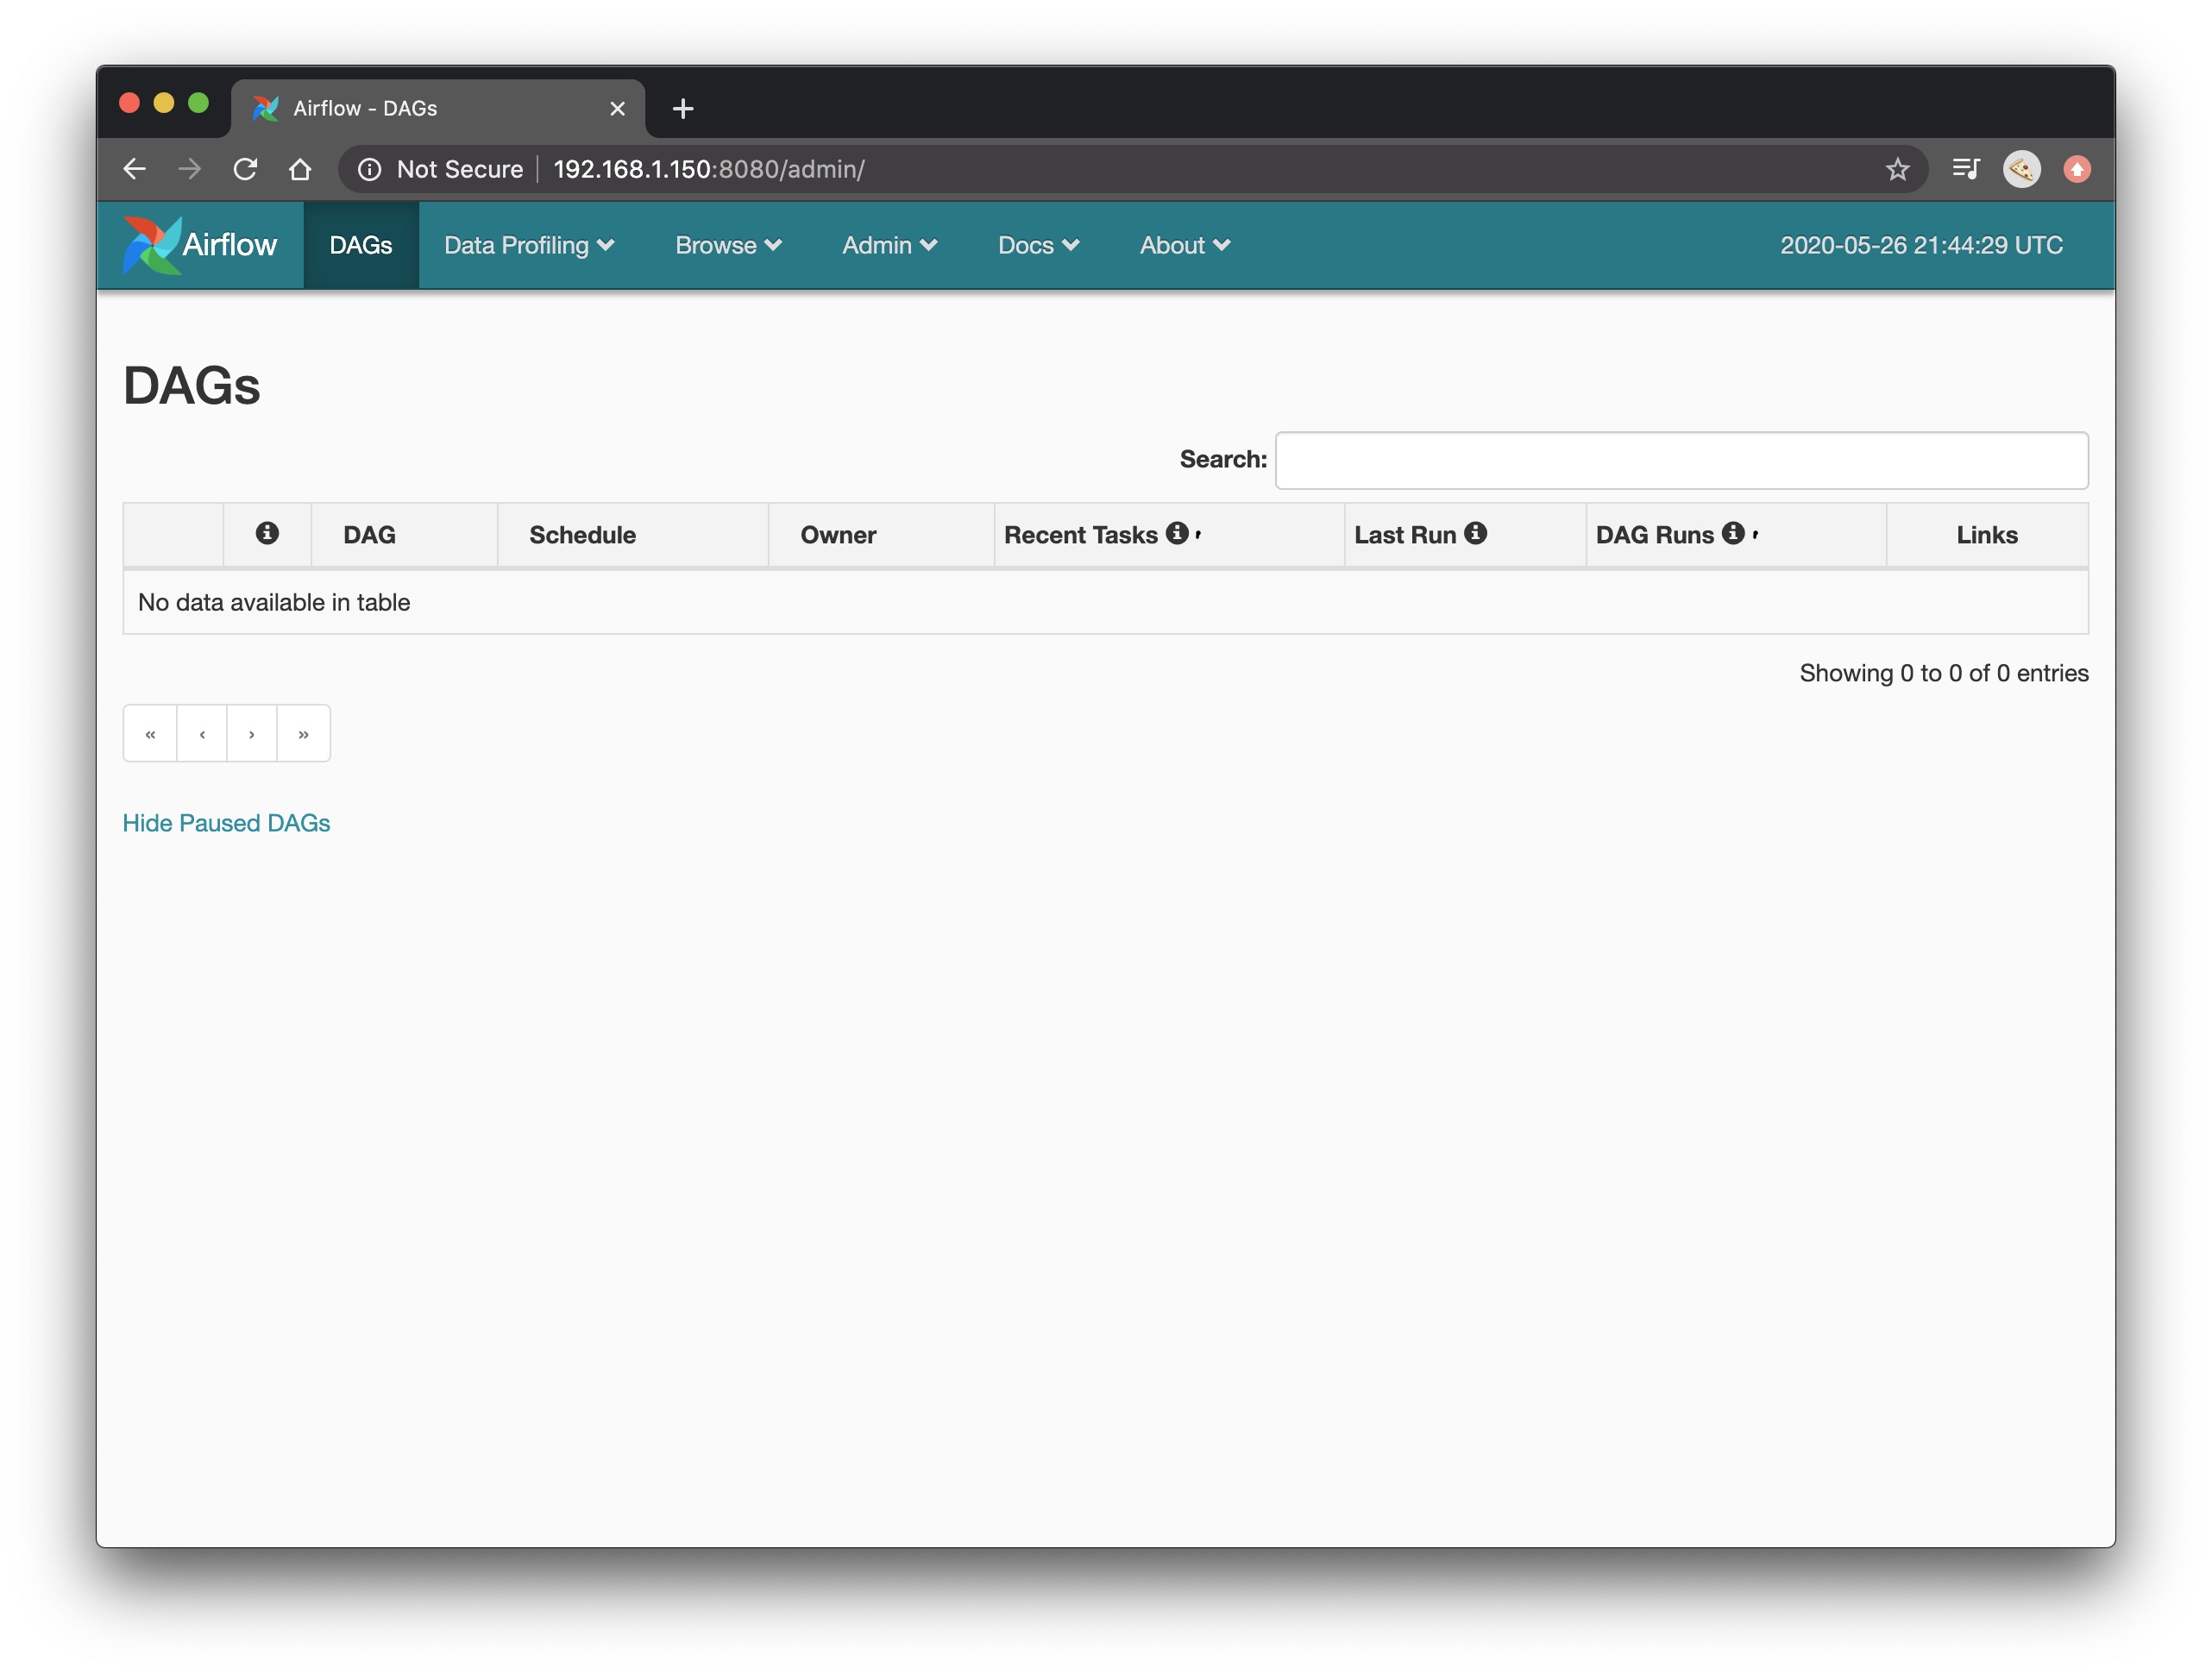
Building a test DAG
At this point we’ve configured Airflow and successfully got it running. Time to create a test DAG to see Airflow in action 💪🏼.
The DAG definition file
The first thing we need to do is create a folder within the root of our project to house our DAG definitions. These definitions will tell Airflow what needs run, and in what order to execute them.
In the root of the project directory make a dags folder and cd into it with
mkdir dags && cd dags
Next, let’s create a simple DAG called hello_world.py with the following contents
from datetime import timedelta
from airflow import DAG
from airflow.operators.bash_operator import BashOperator
from airflow.utils.dates import days_ago

default_args = {
    'owner': 'airflow',
    'depends_on_past': False,
    'start_date': days_ago(2),
    'retries': 0,
}

dag = DAG(
    'hello-world',
    default_args=default_args,
    schedule_interval=None,
    catchup=False,
)

say_hey = BashOperator(
    task_id='say_hey',
    bash_command='echo "Hello World"',
    dag=dag,
)

happy_day = BashOperator(
    task_id='happy_day',
    bash_command='echo "Happy $(date +"%A")!"',
    dag=dag,
)

say_hey >> happy_day
In the above snippet we
- Did some importing
- Defined a DAG named
hello-world - Added a few default arguments which specify
- The user
airflowowns the DAG (this could be any string) - The DAG doesn’t depend on a successful past run to trigger new runs
'depends_on_past': False - The DAG’s intervals start two days ago
'start_date': days_ago(2) - The DAG won’t retry itself if it fails
'retries': 0 - The DAG will only run when manually triggered
schedule_interval=None - The DAG will not generate runs for each interval since the
start_datecatchup=False
- The user
- Then, we added two
BashOperatortasks to the DAGsay_heywhich will execute one bash commandecho "Hello World".happy_daywhich will execute another bash commandecho "Happy $(date +"%A")!"
- Lastly, we defined the order in which to run the two tasks using bitshift the operator
>>.- In this case
say_heywill run first, thenhappy_day.
- In this case
Even from this simple example, with minimal configuration, you can can see the extensibility of the basic features alone (retries, task dependencies, schedule intervals, etc.).
Mounting the DAG_FOLDER
At this point, we have Airflow running and we’ve built a DAG for it to orchestrate, but Airflow can’t yet see our DAG. That’s because it’s on our local file system, not in the container where Airflow is running. For Airflow to see our DAG it needs to be in our AIRFLOW_HOME directory (defined in the Dockerfile) under the subdirectory dags see here for more info!
Luckily for us there’s an easy way to mount local directories in Docker containers by supplying a volume argument to the docker run command.
Before continuing it’s worth confirming that your directory structure mirrors the following. If it doesn’t take another glance above ☝🏽.
docker-airflow-tutorial/
├── dags
│   └── hello_world.py
├── Dockerfile
└── entrypoint.sh
Start by killing and removing the currently running Airflow container with
docker kill airflow && docker rm airflow
Next, let’s start a new container using the same image as before, but this time supplying a volume with
docker run \
    -v /home/pi/docker-airflow-tutorial/dags:/app/airflow/dags \
    --name airflow \
    -p 8080:8080 \
    -d airflow:0.1.0
The -v /home/pi/docker-airflow-tutorial/dags:/app/airflow/dags argument tells Docker to mount /home/pi/docker-airflow-tutorial/dags (where our DAG definition file hello_world.py is) in the container at /app/airflow/dags (where Airflow expects DAGS to be). This is pretty cool, any changes or DAGs we add while this container is running will now auto-magically 🧙🏼♂️ populate in the Airflow UI for triggering.
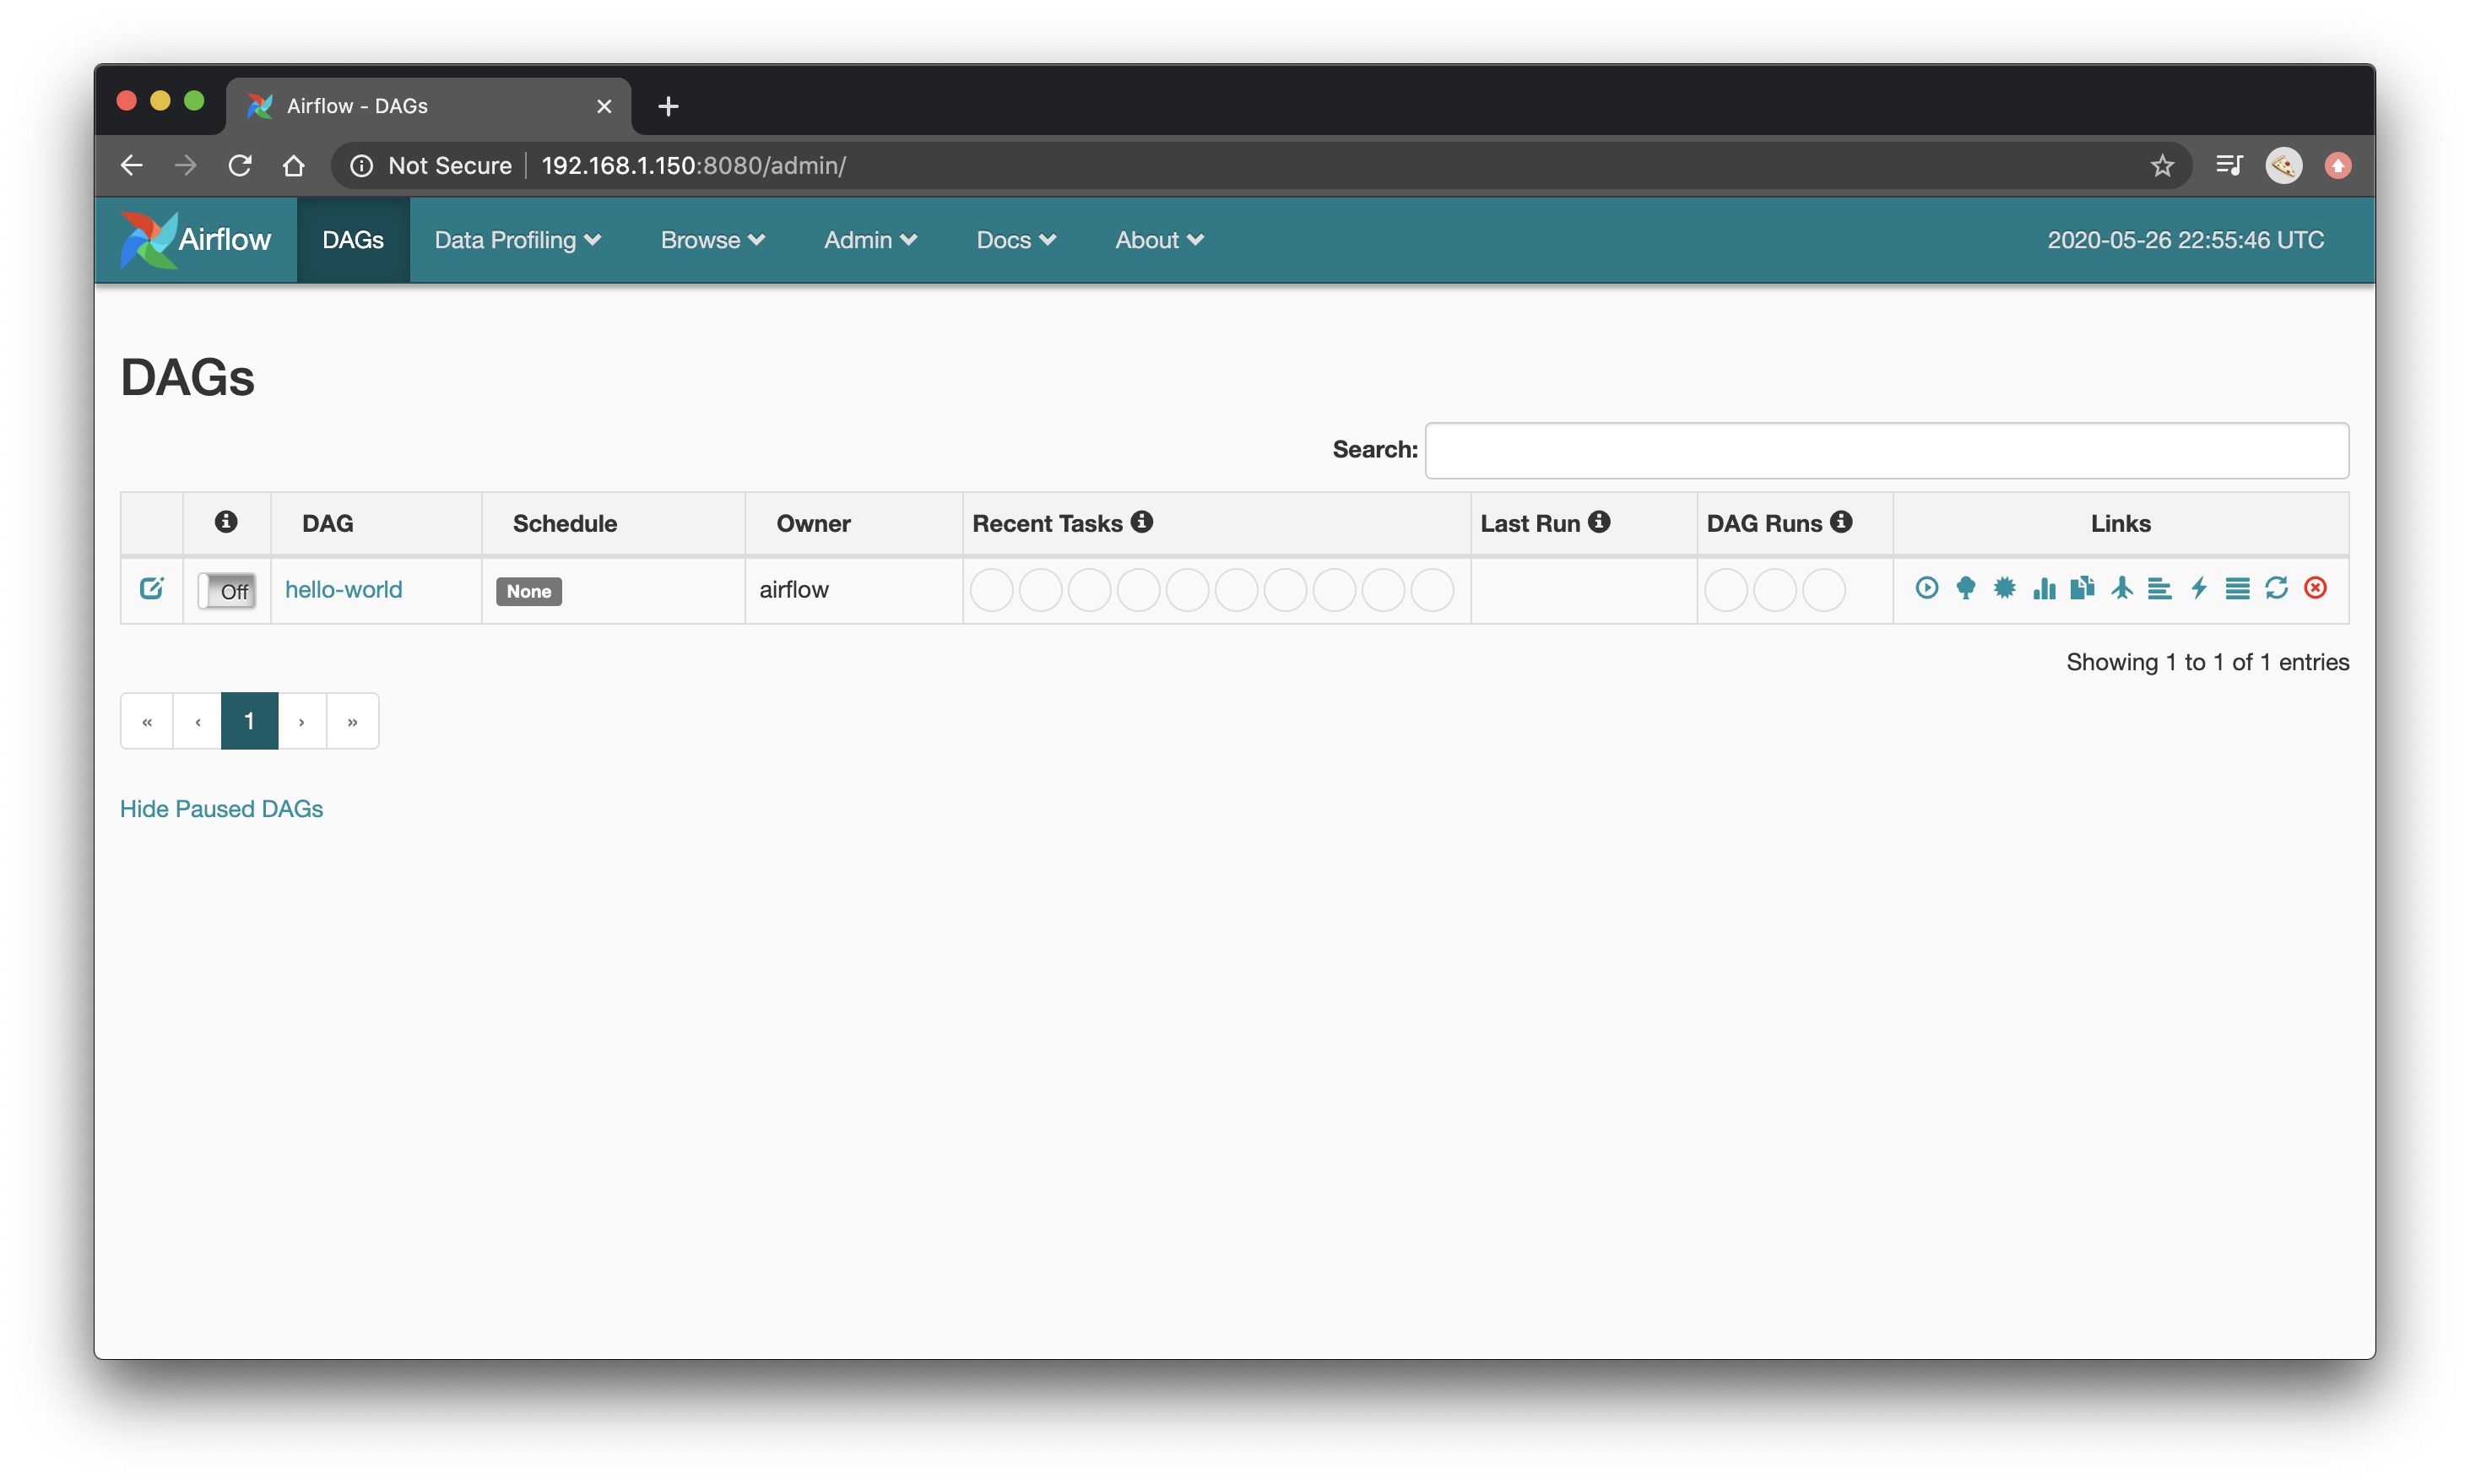
Give the frontend a second to start and for the scheduler to pickup the new DAG, then refresh your browser.
If all went according to plan you should be greeted by your brand new DAG. Pretty exciting 😁!
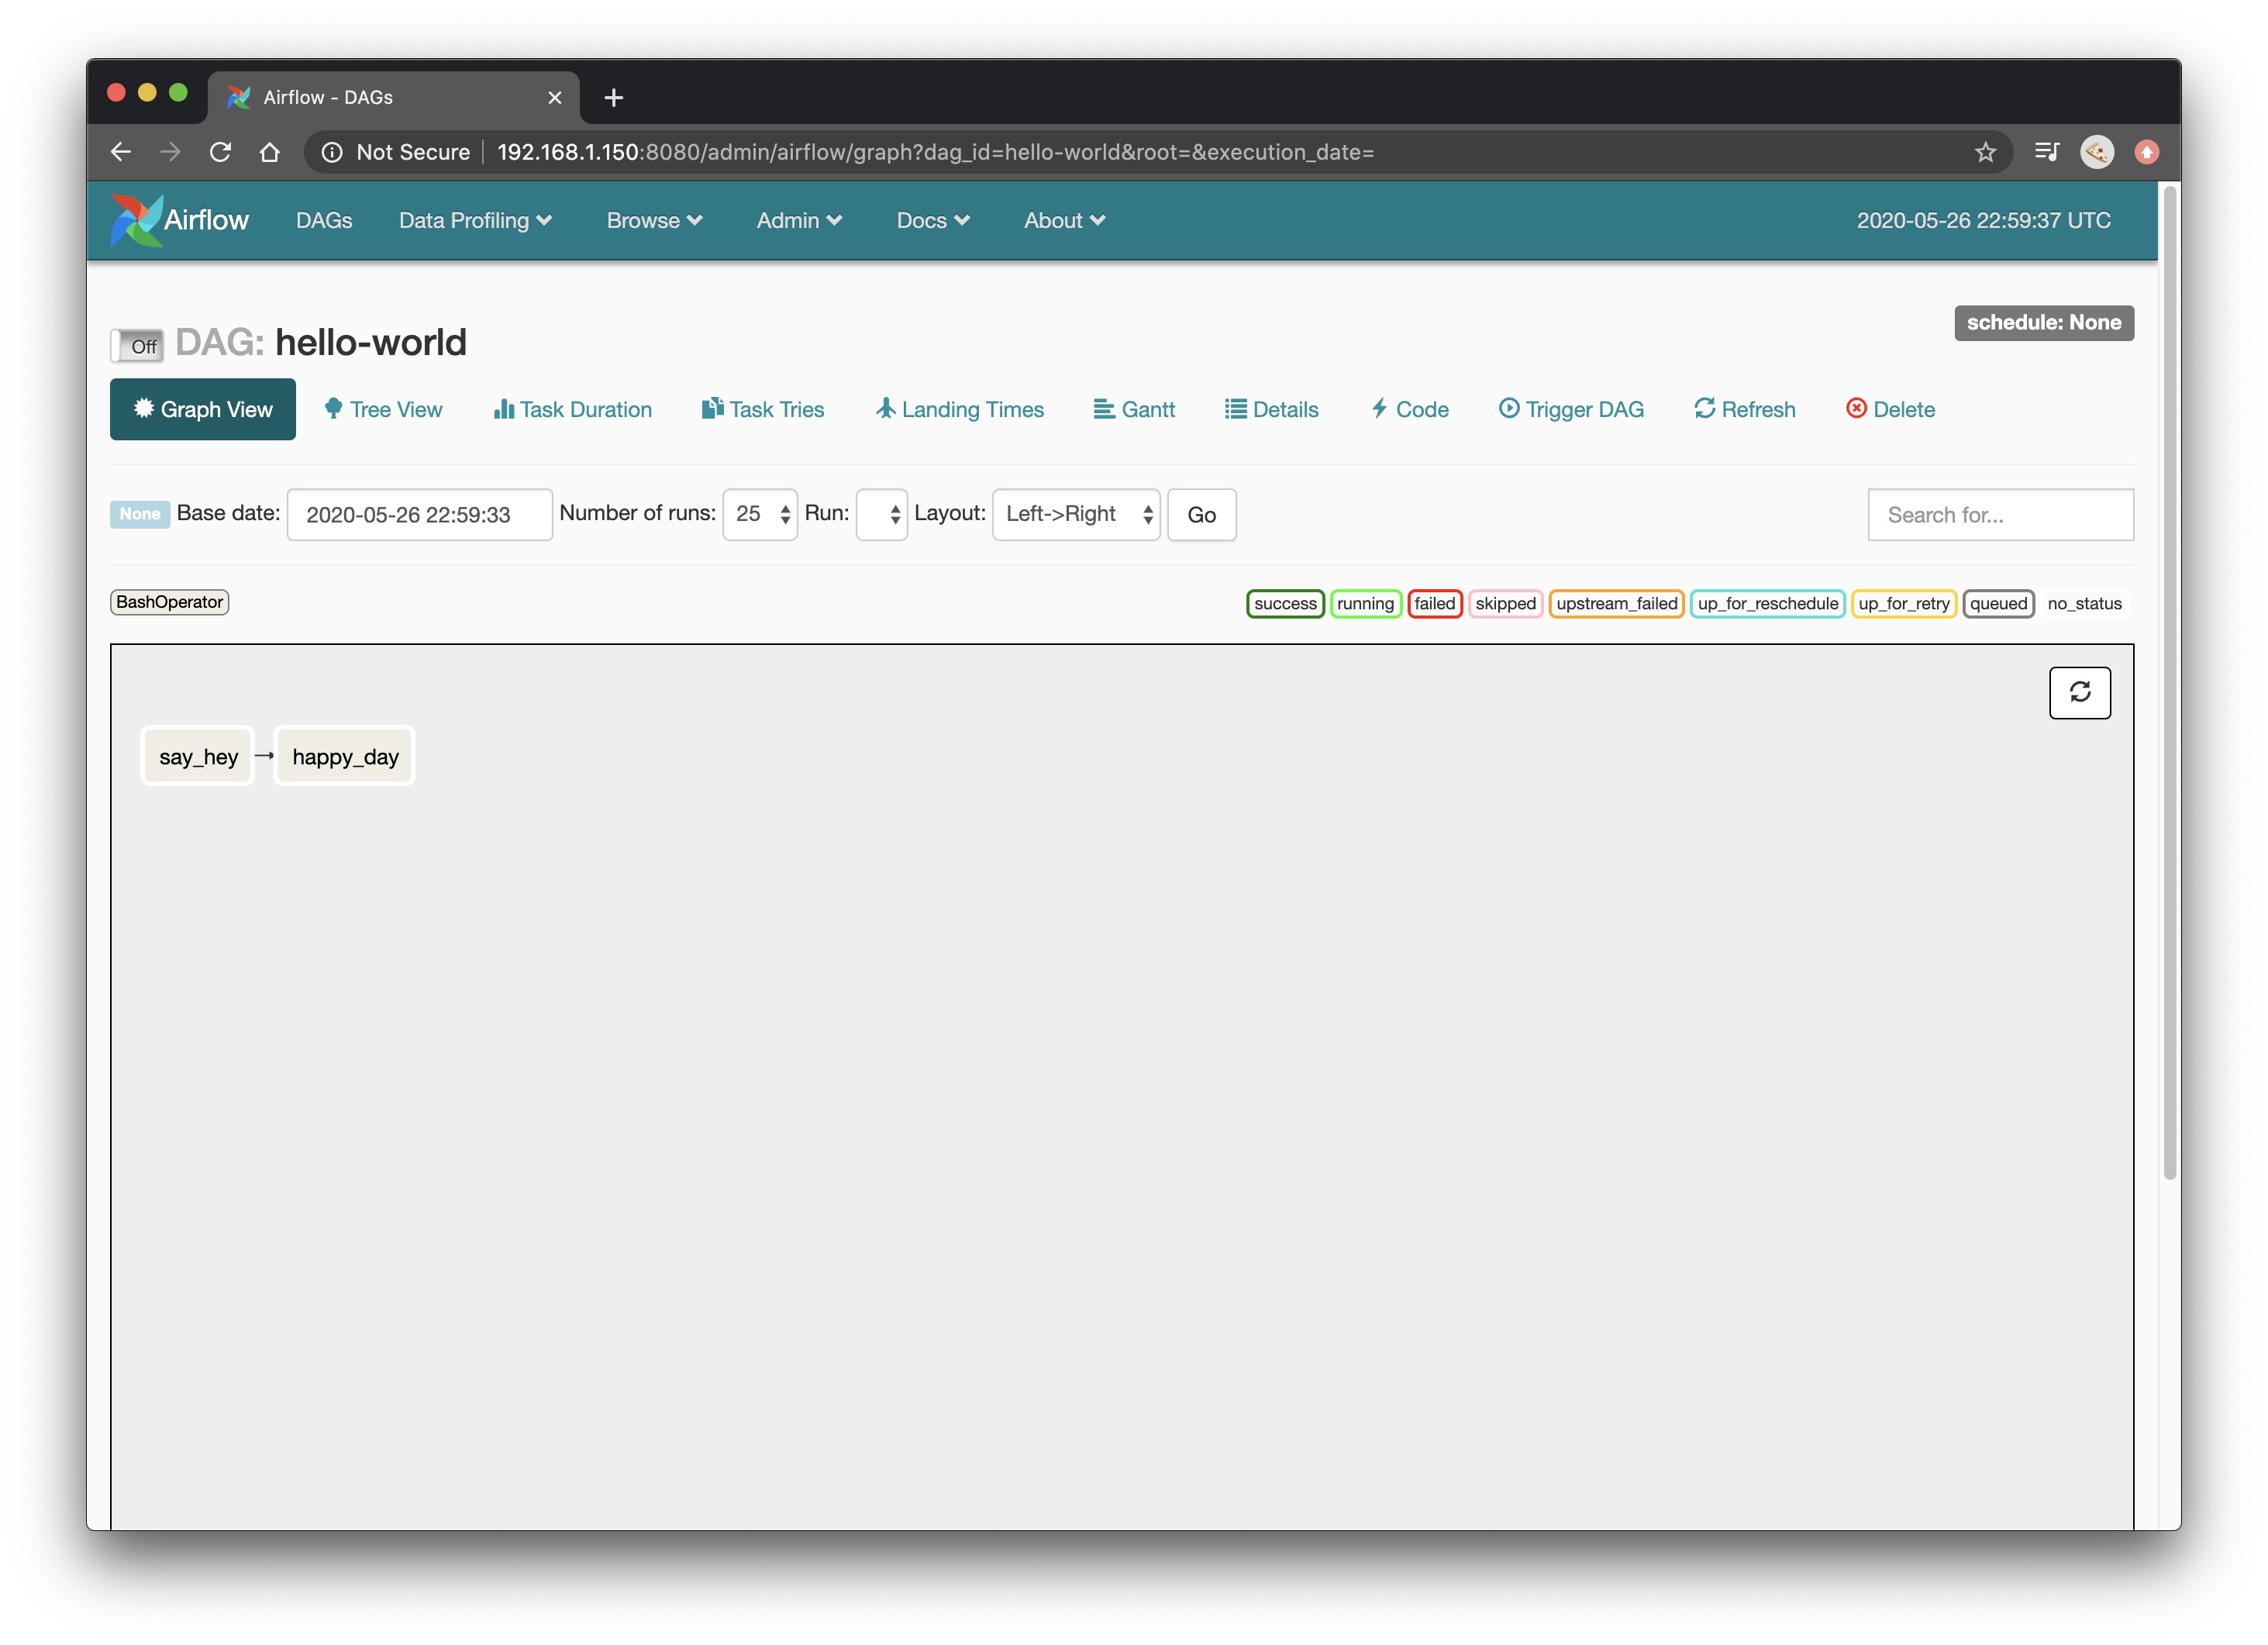
Clicking into your hello-world DAG you can use the Graph View to see your DAG and the task dependencies
In the Code tab you can even see a preview of the code we wrote that defined the DAG. This is useful when browsing in the future to remind yourself of the intricacies of each task.

Running hello_world.py
Enough talk ✋🏼, let’s run some tasks!
- While you’re in the
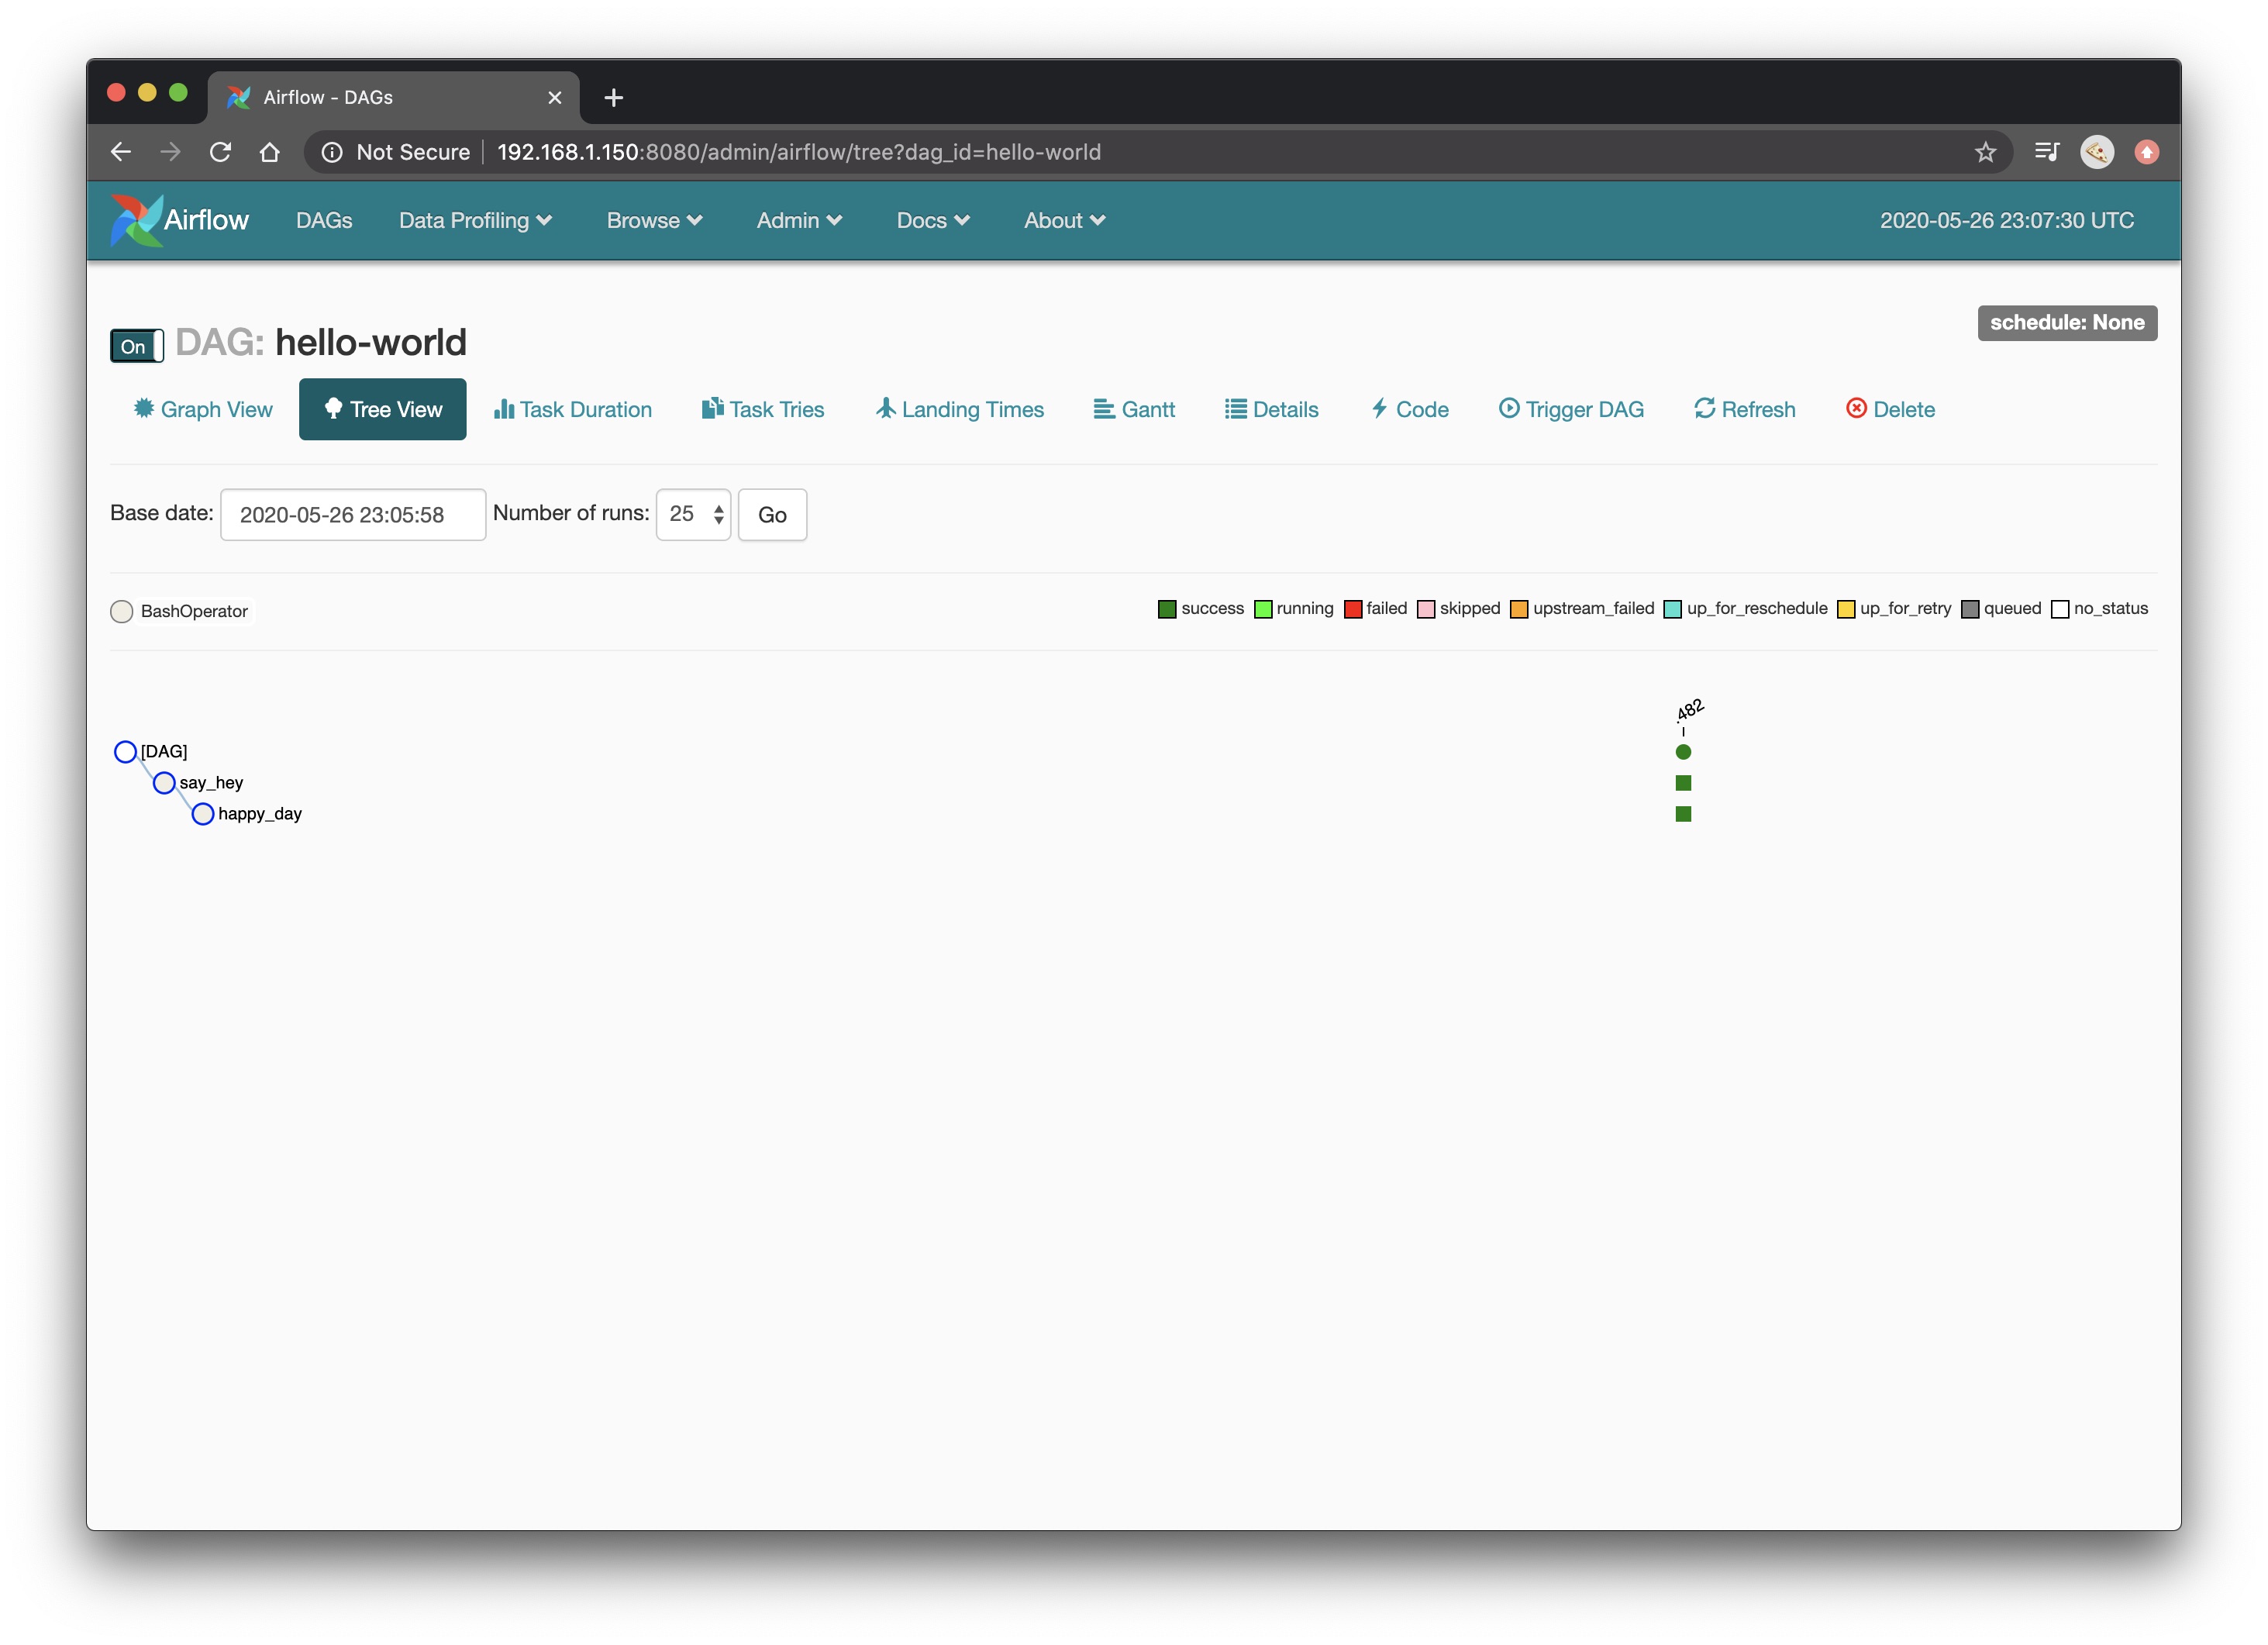
hello-worldDAG within the UI, toggle theOffsetting toOnlocated to the left of DAG: hello-world. - Click Trigger DAG and then choose Trigger.
- After clicking Trigger you will be dropped into the Tree View.
- Soon thereafter the Scheduler will start the tasks, and run them according to the dependency tree.
As the tasks get picked up, start executing and complete you should notice them go from a white box, to a bright green box, and then a dark green box indicating the task successfully completed. If you see any other colors, something ain’t right… You need to refresh your browser to see the tasks going through their life cycle.
Once your tasks complete you should see two dark green boxes like below
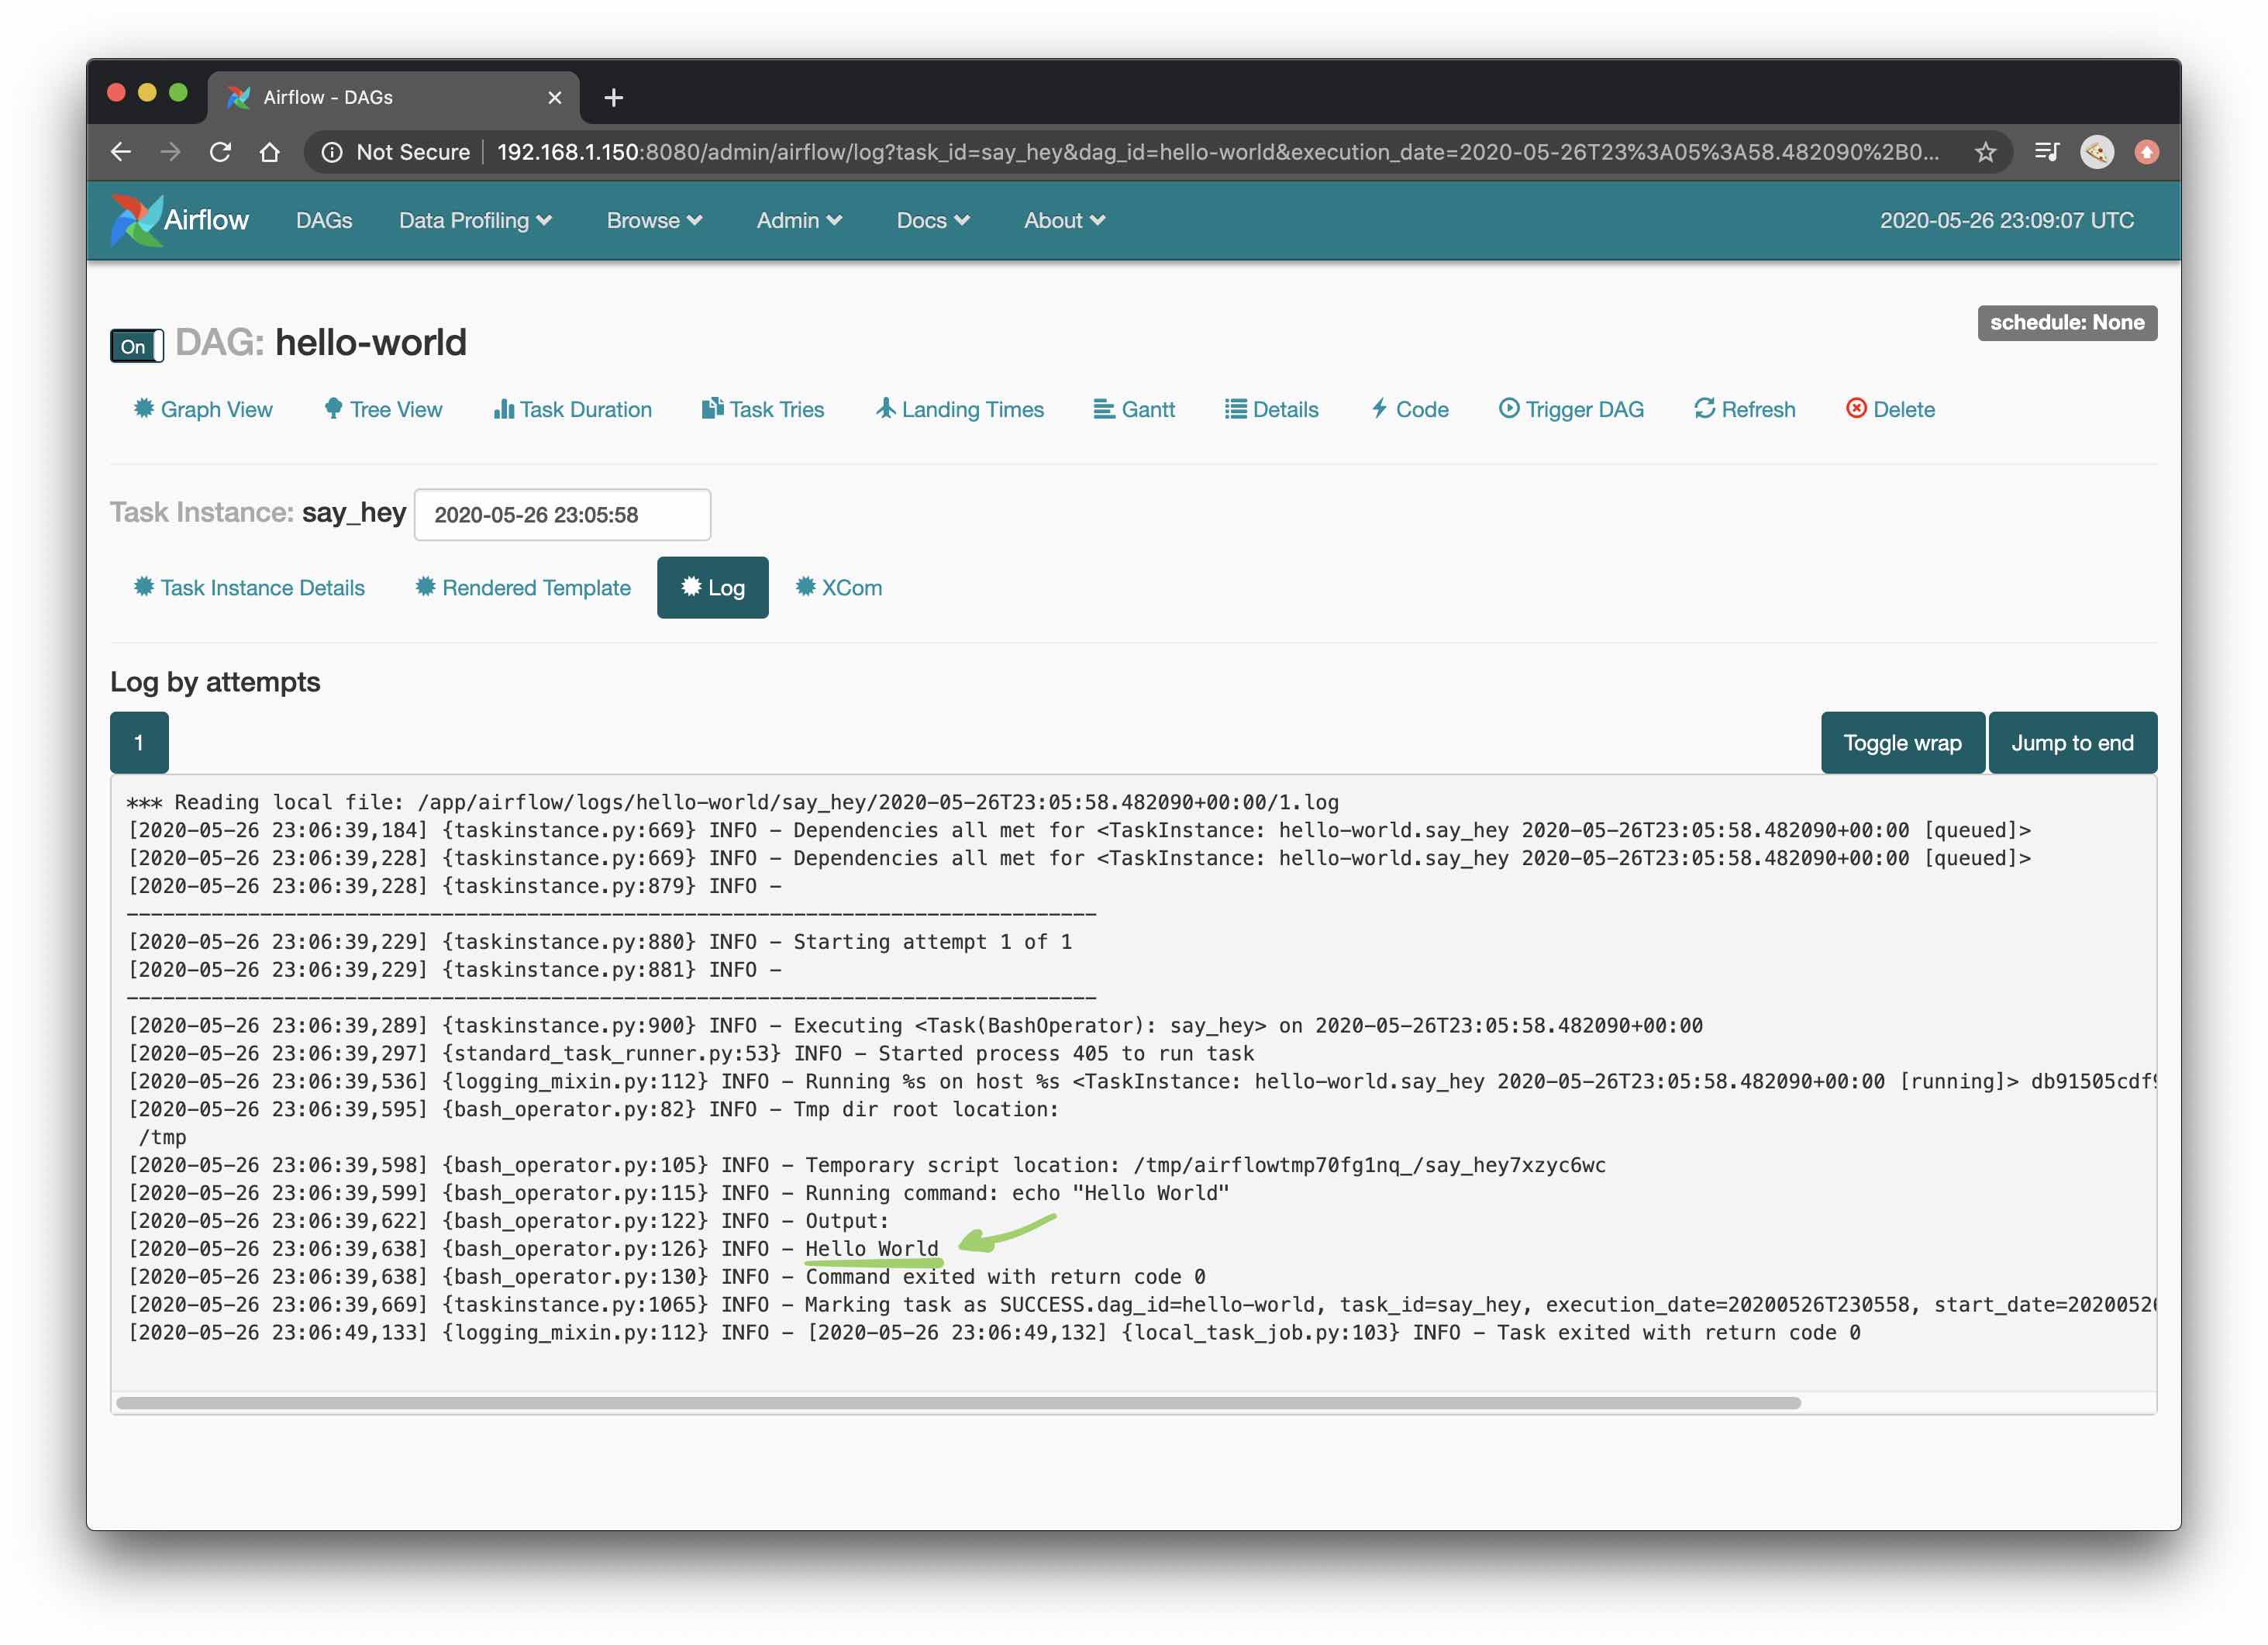
To see the logs for an individual task run you can click its box in the Tree View. Let’s check out the logs for our say_hey task. Click the green box, then View Log.
You should be greeted with the output from the task run like below
Doing the same for happy_day you should be greeted by a message like Happy Tuesday! (It happens to be Tuesday on my planet. It might be different depending on when and where you are 🌎).
That’s A Wrap
Congratulations, you made it! 🍾
To summarize, we just
- Installed Docker on a Raspberry Pi,
- Built an image including Airflow and its dependencies,
- Started a container to host an instance of Airflow,
- Created a DAG with two BashOperators and
- Ran the DAG.
Hopefully this simplified example was helpful in understanding the very basics of getting an instance of Airflow started. Hopefully it’s consumable and can serve as a base to grow your understanding and create some really cool projects.
The number of available operators to use out of the box can make orchestrating pretty complex pipelines pretty easy. In later posts I’ll create some interesting pipelines that use this Airflow image to orchestrate slightly more complex workflows.